Looking for something? Search Here..


Generic selectors

Exact matches only

Search in title

Search in content

Post Type Selectors

Author: Sharon Hepzibah

  • Product Comparison

    This plugin allows customers to compare multiple products side by side based on selected details. This section lets admins control how the comparison feature works, looks, and what information is shown.

    To configure, follow these steps:

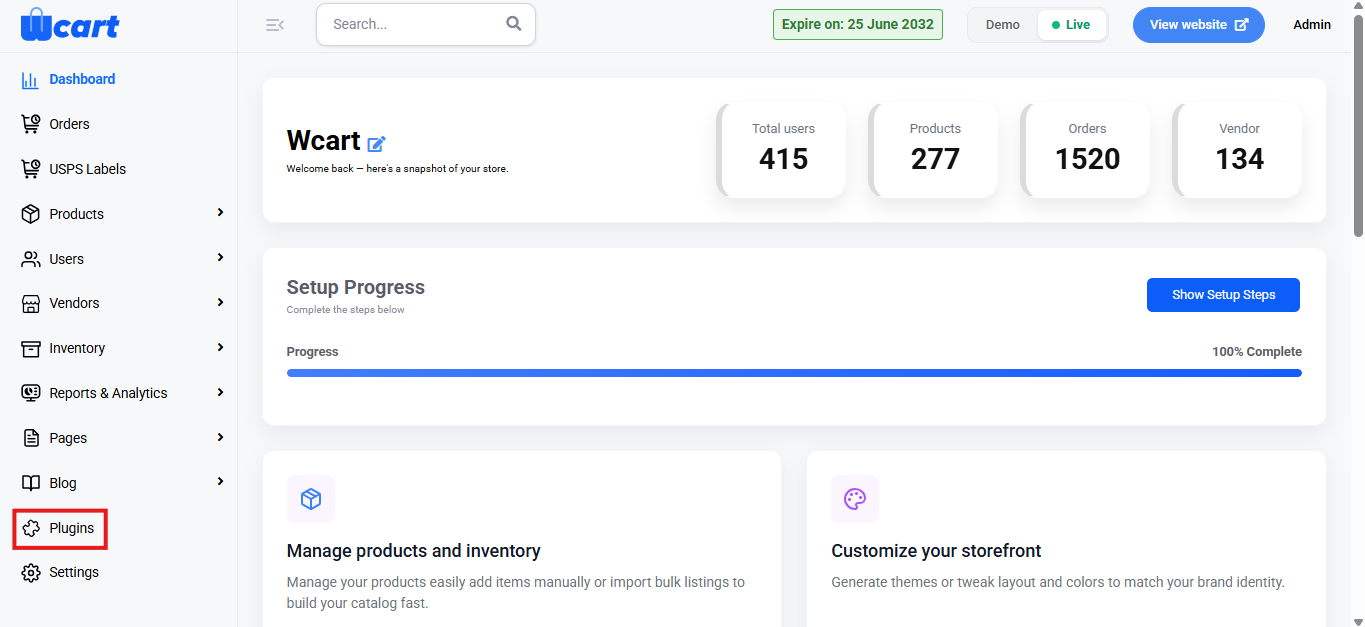
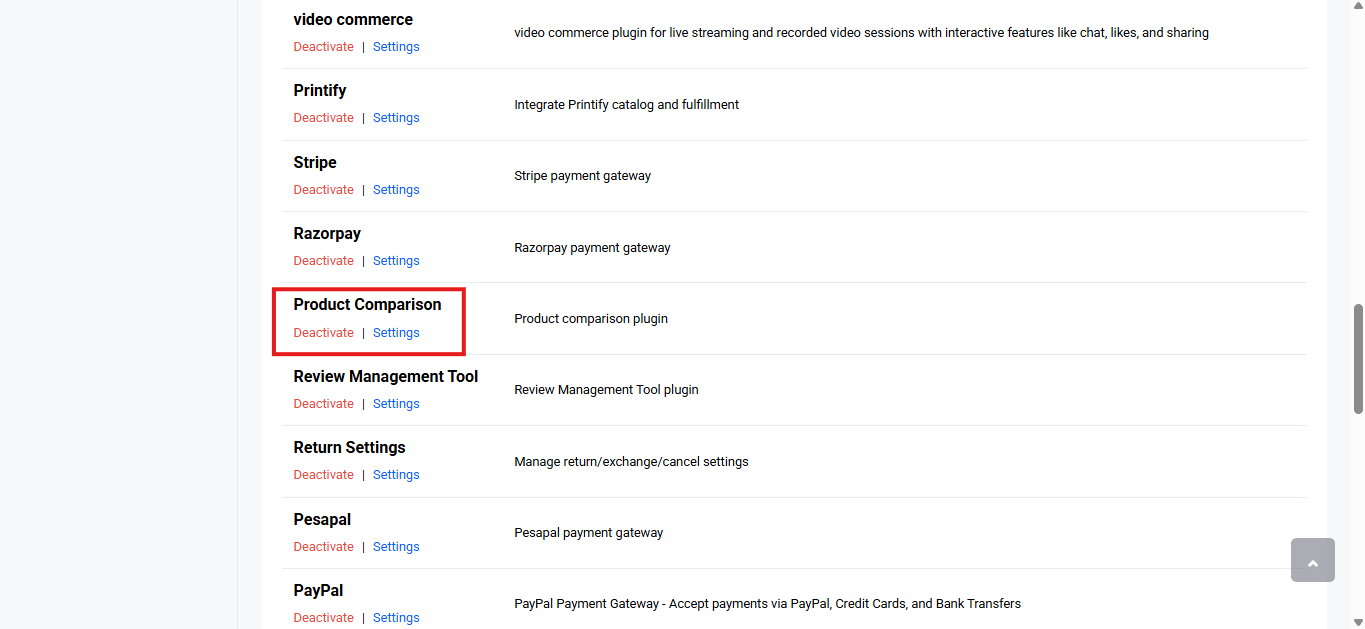
    • Navigate to the sidebar menu and select ‘Plugins’.
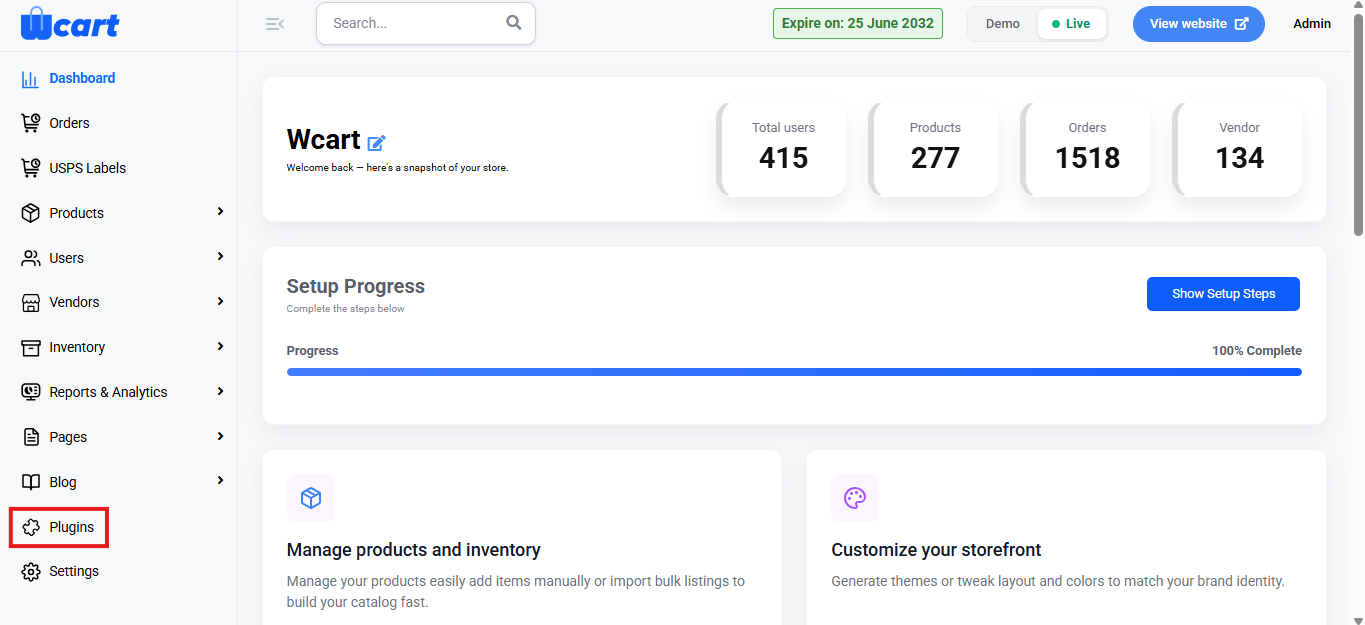
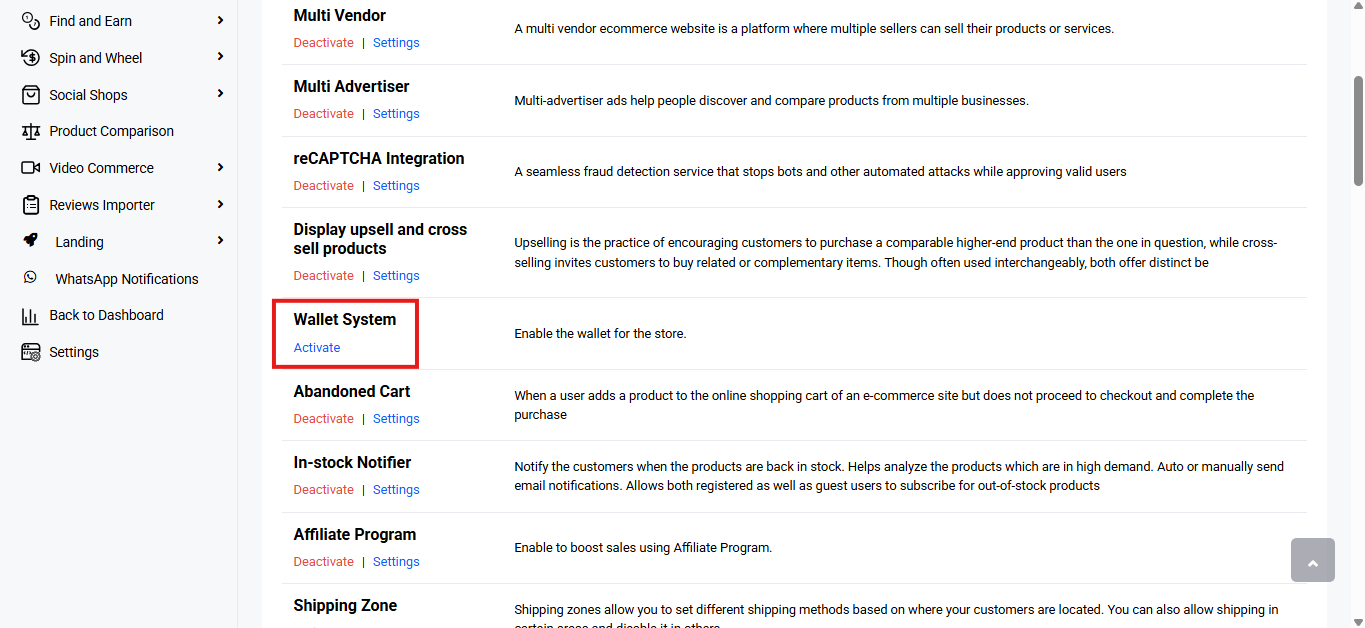
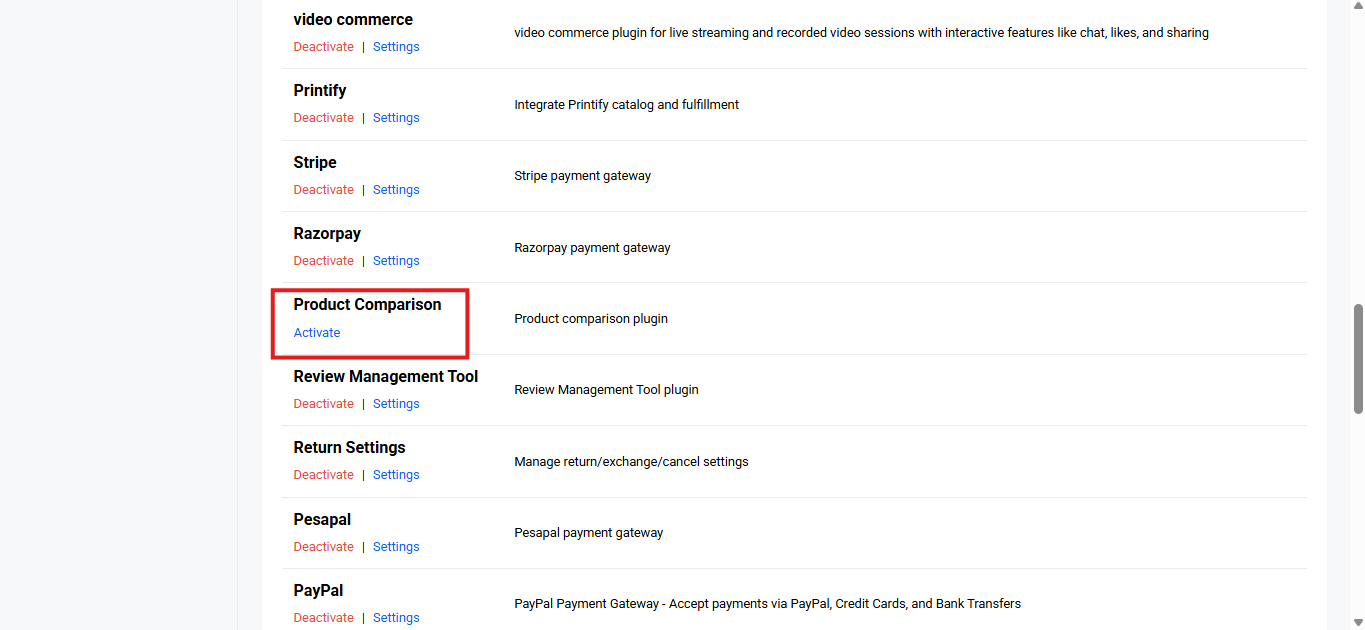
    • Locate ‘Product Comparison’ and click ‘Activate’. You will now see two options: ‘Deactivate’ and ‘Settings’. When you click ‘Activate’ or ‘Deactivate’, a toast notification showing ‘Product Comparison Plugin Activated’ or ‘Product Comparison Plugin Deactivated’ will appear to confirm that the plugin has been activated or deactivated. You can configure ‘Product Comparison’ by clicking ‘Settings’ or by selecting ‘Product Comparison’ from the left sidebar menu after activation.
    General Settings

    • Enable Product Comparison: Enable this option to activate the product comparison feature on the store.
    • Max Products to Compare: Set the maximum number of products a customer can compare at one time.
      • Available options:
        • 2 Products: Allows comparison between two products.
        • 3 Products: Allows comparison between three products.
        • 4 Products: Allows comparison between four products.
        • 5 Products: Allows comparison between five products.
        • 6 Products: Allows comparison between six products.

    Button Settings

    These settings control the compare button shown to customers.

    • Button Placement: Choose where the Compare button appears:
      • Available options:
        • Product List Only: Shows the Compare button only on product listing pages.
        • Product Page Only: Shows the Compare button only on individual product detail pages.
        • Both Product List & Page: Shows the Compare button on both listing pages and product detail pages.
    • Button Text: Customize the text shown on the compare button.

    Appearance Settings

    • Primary Color: Select the main color used for the comparison button and highlights.
    • Secondary Color: Choose an additional color for styling the comparison interface.

    Display Fields

    Select which product information should appear in the comparison table.

    Available options include:

    • Product Image
    • Product Title
    • Product Price
    • Product Rating
    • Product Description
    • Product SKU
    • Availability Status
    • Product Attributes
    • Additional Fields (optional)

    Only selected fields will be visible to customers during comparison.

    Save Settings

    Click ‘Save Settings’ to apply all changes. A toast notification ‘Updated Reward Point Settings Successfully’ will appear to confirm the update.

    Product Comparison helps customers make better purchase decisions by easily viewing key differences between products, improving user experience and conversion rates.

  • Reward Points

    This module allows you to reward customers with points for purchases and let them redeem those points on future orders. This section helps you configure how points are earned, redeemed and displayed on the storefront.

    To configure, follow these steps:

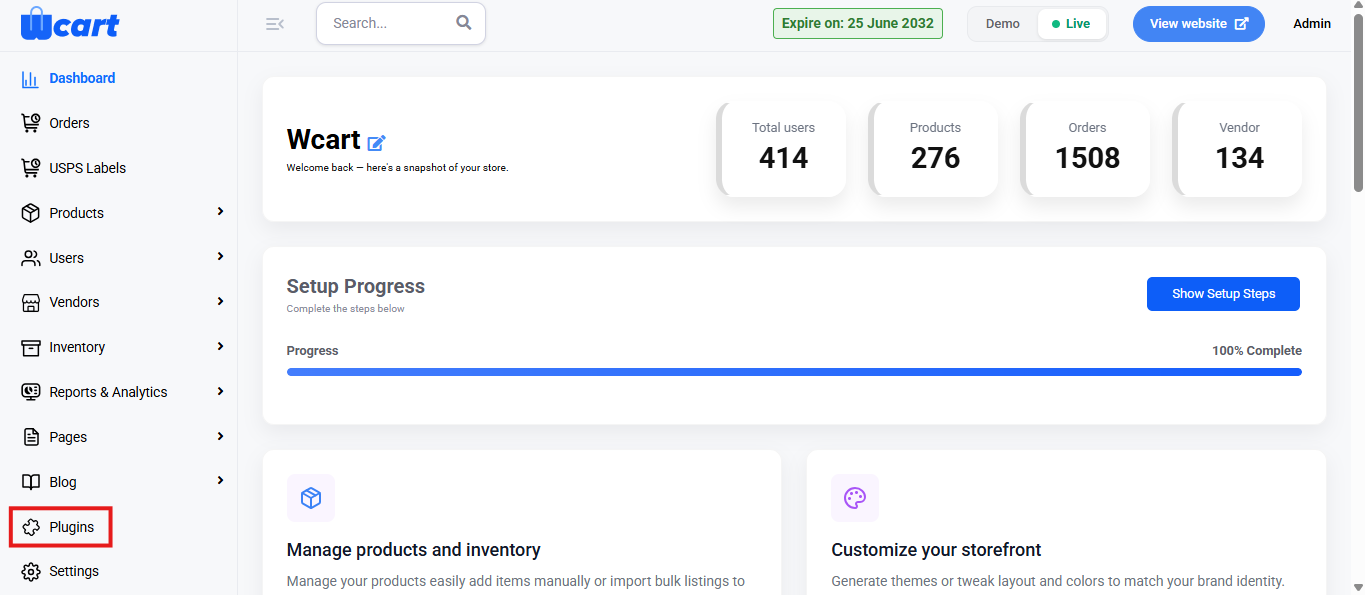
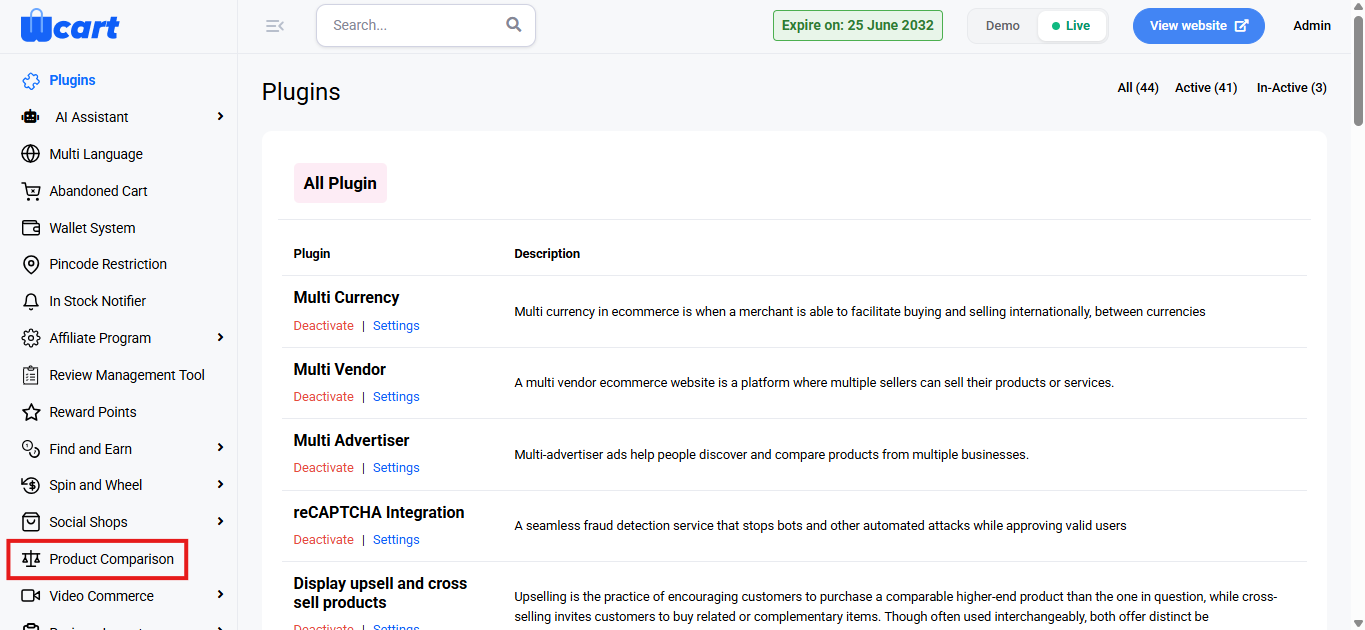
    • Navigate to the sidebar menu and select ‘Plugins’.
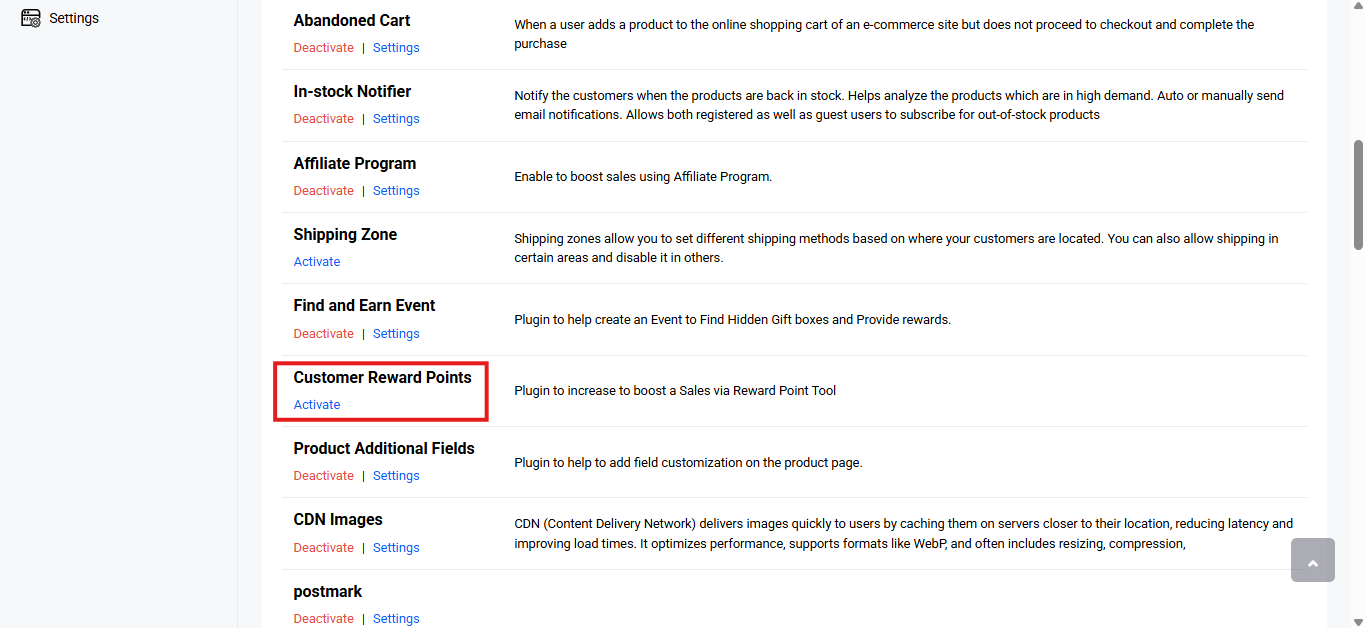
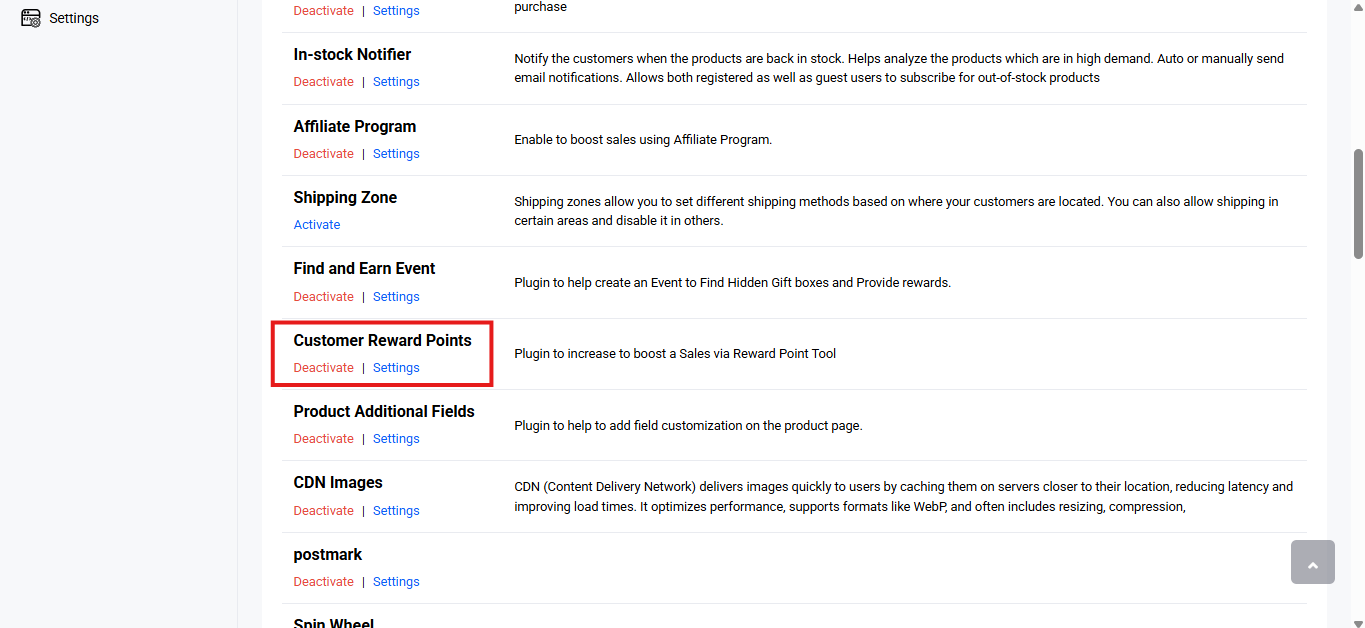
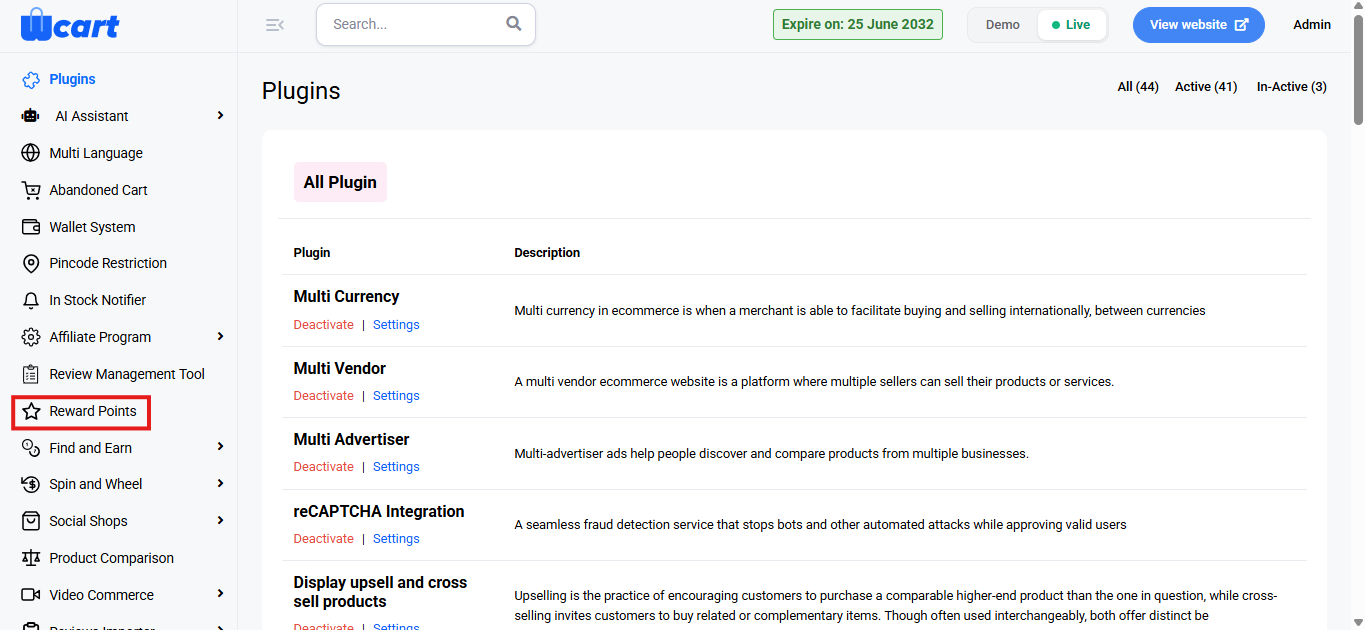
    • Locate ‘Customer Reward Points’ and click ‘Activate’. You will now see two options: ‘Deactivate’ and ‘Settings’. When you click ‘Activate’ or ‘Deactivate’, a toast notification showing ‘Customer Reward Points Plugin Activated’ or ‘Customer Reward Points Plugin Deactivated’ will appear to confirm that the plugin has been activated or deactivated. You can configure ‘Customer Reward Points’ by clicking ‘Settings’ or by selecting ‘Reward Points’ from the left sidebar menu after activation.
    Point Earning Settings

    These settings control how customers earn reward points.

    • Display Text: Text shown on the frontend to represent reward points.
    • Amount for Unit Point: Defines the order value required to earn 1 reward point.
    • Maximum Point per Order: Sets the maximum number of points a customer can earn from a single order.
    • Expiry Period: Determines how long reward points remain valid.

    Point Redeem Settings

    These settings define how customers can redeem earned points.

    • Redeem Amount per Unit Point: Specifies the monetary value of 1 reward point during redemption.
    • Minimum Order Total Redeem: Minimum cart value required to allow point redemption.
    • Minimum Redeem Point per Order: Minimum number of points required to redeem in an order.
    • Maximum Redeem Point per Order: Maximum number of points that can be redeemed in a single order.

    Frontend Visibility Settings

    Controls how reward points are shown on the store frontend.

    • Show in Product Page: Choose Yes to display reward point information on product pages.
    • Placement Area: Select where the reward point information appears on the product page.

    Save Settings

    • Click Submit to save all configurations. A toast notification ‘Updated Reward Point Settings Successfully’ will appear to confirm the update.

    Reward Points help increase customer engagement, encourage repeat purchases, and build long-term loyalty by offering incentives for shopping.

  • Pin code Restriction

    This section allows you to configure the Pin code restrictions and manage related messages for your e-commerce platform.

    To configure, follow these steps:

    • Navigate to the sidebar menu and select ‘Plugins’.
    • Locate ‘Affiliate Program’ and click ‘Activate’. You will now see two options: ‘Deactivate’ and ‘Settings’. When you click ‘Activate’ or ‘Deactivate’, a toast notification showing ‘Affiliate Program Plugin Activated’ or ‘Affiliate Program Plugin Deactivated’ will appear to confirm that the plugin has been activated or deactivated. You can configure ‘Affiliate Program’ by clicking ‘Settings’ or by selecting ‘Affiliate Program’ from the left sidebar menu after activation.

    Enable Pin code Restriction

    This option allows you to control whether Pin code-based delivery restrictions should be applied for your store. When enabled, customers can only select products that are available for delivery in their specified Pin code area.

    Field Options:

    • Yes: Activates Pin code-based restriction for product delivery.
    • No: Disables the Pin code restriction feature.

    COD Status (Cash on Delivery)

    This field helps manage the availability of Cash on Delivery (COD) for specific pin codes.

    Field Options:

    • Yes: COD is available for delivery in the specified Pin code areas.
    • No: COD is not available for the selected Pin code areas.

    Success Message Note

    Customize the message displayed when a customer enters a valid Pin code where your products are available for delivery. This message assures customers that their location is serviceable.

    Failure Message Note

    Customize the message displayed when a customer enters an invalid Pin code or one that is not currently serviced. This helps manage customer expectations.

    Delivery Day Status

    This option allows you to specify whether delivery days are restricted based on Pin code. If enabled, customers may only select specific delivery days when ordering from certain regions.

    Field Options:

    • Yes: Restricts delivery days based on the customer’s Pin code.
    • No: Delivery days are not restricted by Pin code.

    Submit 

    After configuring all necessary settings for Pin code restrictions, click the Submit button to save your changes. A toast message ‘Pin code restriction settings updated successfully’ will appear to confirm the update.

    These settings help manage Pin code-based delivery restrictions and ensure smooth operations for your store. Ensure all details are configured correctly and saved before proceeding to the next configuration section.

  • Wallet Settings

    Allows customers to load and use funds within a digital wallet tied to their account on the store.

    To configure, follow these steps:

    • Navigate to the sidebar menu and select ‘Plugins’.
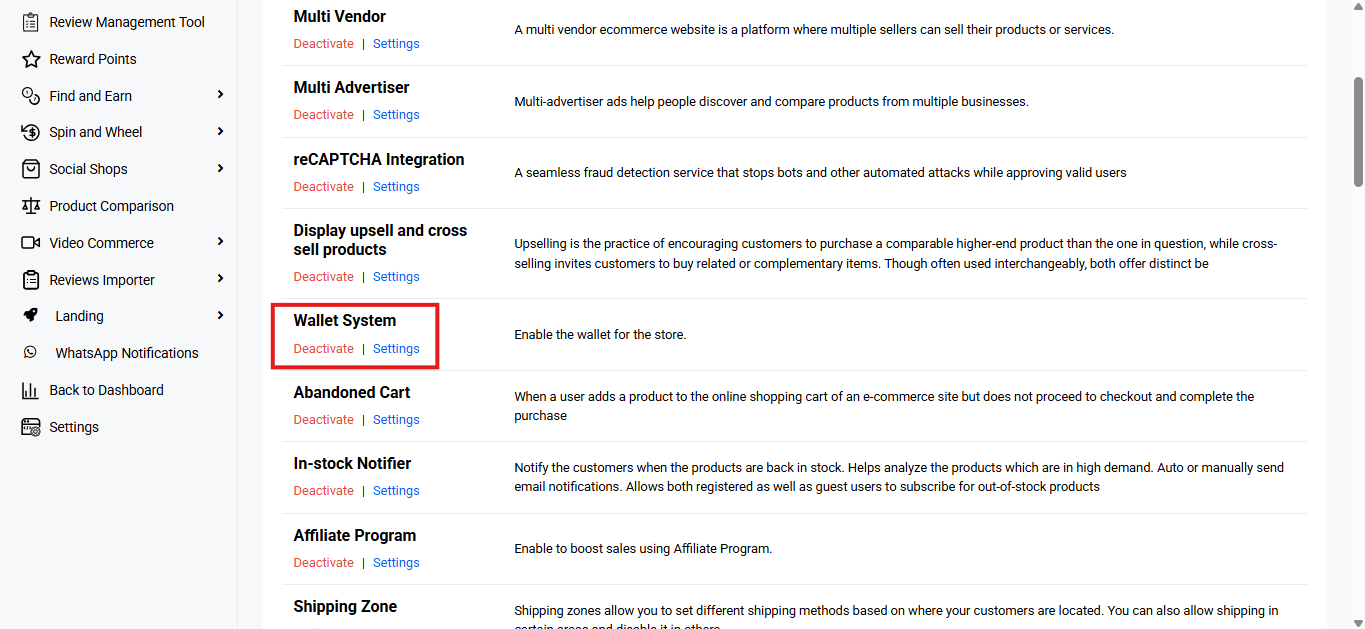
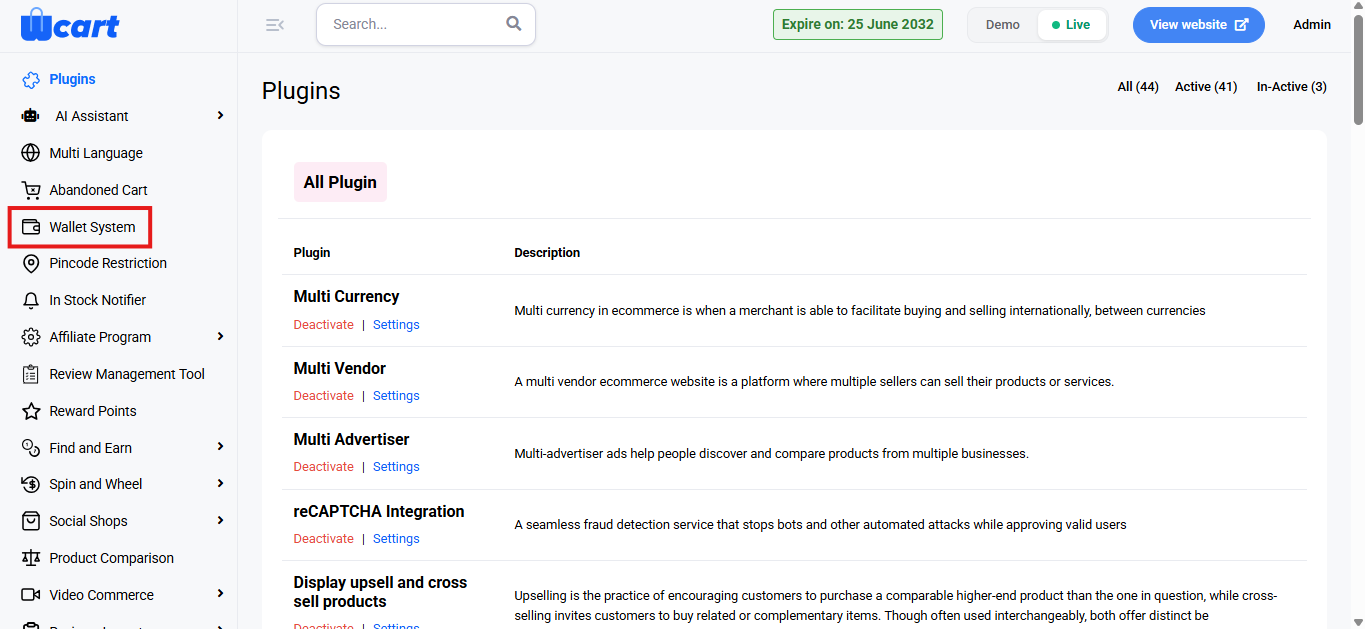
    • Locate ‘Wallet’ and click ‘Activate’. You will now see two options: ‘Deactivate’ and ‘Settings’. When you click ‘Activate’ or ‘Deactivate’, a toast notification showing ‘Wallet System Plugin Activated’ or ‘Wallet System Plugin Deactivated’ will appear to confirm that the plugin has been activated or deactivated. You can configure ‘Wallet System’ by clicking ‘Settings’ or by selecting ‘Wallet System’ from the left sidebar menu after activation.
    • Enable Email Notifications: When enabled, the system will automatically send email alerts to users whenever there is an update to their wallet balance.
    •  Enable Refund to Wallet: When this option is enabled, any refunds processed through the system will be credited directly to the user’s wallet instead of their original payment method.
    • Enable Payment Method: Determines how wallet balances are used at checkout:
    • Submit: Saves the current configuration for all wallet settings. Displays the toast message ‘Wallet Settings Updated’ to confirm the update.

    The Wallet System settings let admins manage wallet usage, refunds, and notifications easily, improving convenience and control for both the store and customers.

  • Overview

    This section provides a snapshot of store performance, sales trends, and customer activity for a selected time period. It helps admins track business health using key performance indicators (KPIs), sales breakdowns, and leaderboard insights.

    To view the Out of Stock Report, follow these steps:

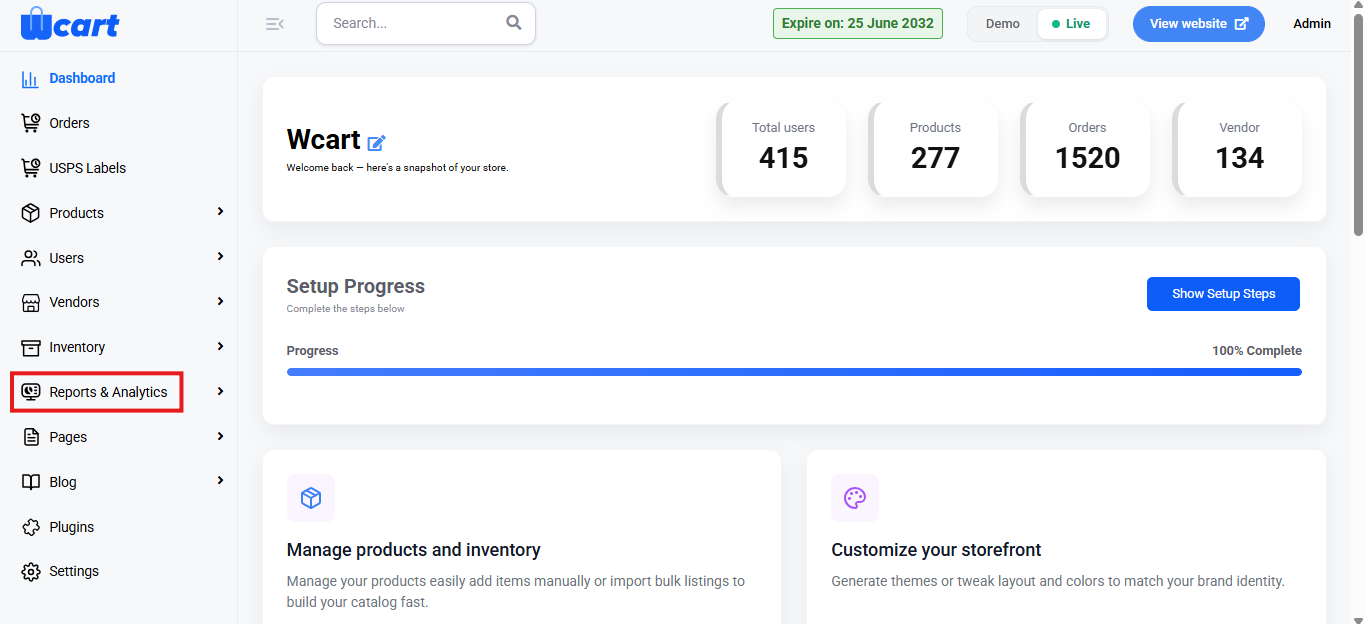
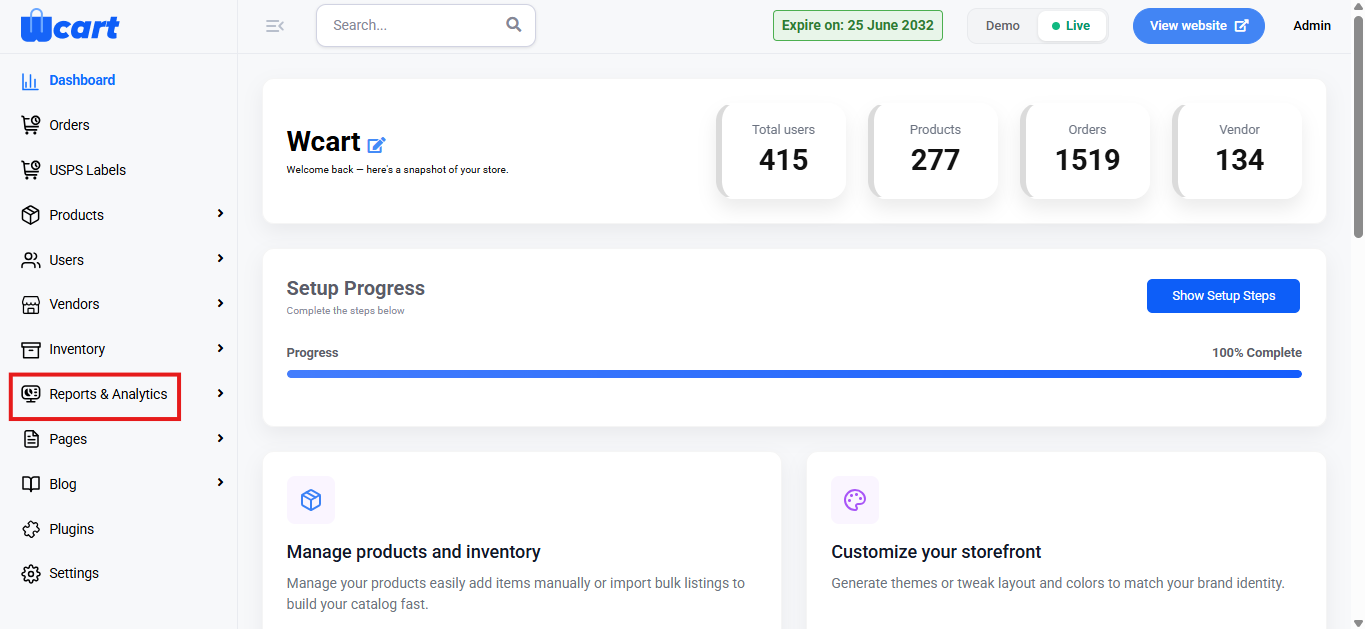
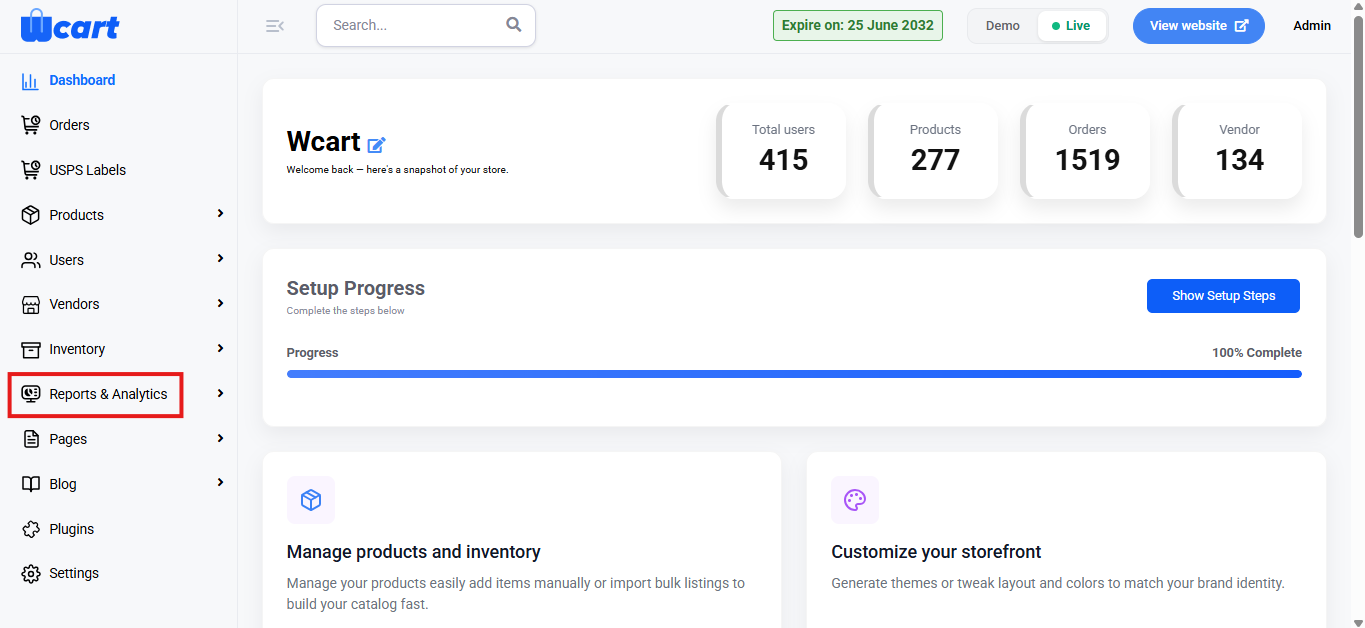
    • Navigate to the sidebar menu and select ‘Reports & Analytics’.
    • Select ‘Overview’ from the submenu.

    Range Selector

    • Purpose: Allows you to filter the dashboard data based on a specific time period.
    • Options Available:
      • Today
      • Yesterday
      • This Week
      • Last Week
      • This Month
      • Last Month
      • Custom Range: Select Custom Range to filter data for a specific period.
        • Choose start (From) and end (To) dates.
        • Click Submit to apply.
        • All reports will update based on the selected range.

    When a range is selected, all data in the dashboard is updated accordingly.

    Performance Summary

    Located at the top, this section shows high-level performance metrics:

    • Total Sale Amount: Sum of all orders placed during the selected period.
    • Total Orders: Number of orders placed.
    • Product Sold: Total quantity of products sold.

    Each metric is color-coded for quick visual identification.

    Sales & Orders Breakdown

    This section displays time-based trends in both Sales and Orders.

    View Modes:

    • Chart View (default) – Visual representation using bar or line graphs (when data is available).
    • Table View – Tabular format showing:
    • Hour / Minutes
    • Orders
    • Order Earnings

    Use the View Mode toggle on the top-right to switch between Chart and Table.

     Leaderboards

    The Leaderboard section highlights top performers based on product sales and user activity.

    Segments:

    • Top Categories – Items Sold

    Displays the best-performing categories with:

    • Category name
    • Number of items sold
    • Net sales
    • Top Products – Items Sold

    Highlights individual products with:

    • Product name
    • Items sold
    • Net sales
    • Best Sellers: Shows users (vendors/sellers) with the highest order count and net sales.
    • Top Users: Displays customers/users with the most orders and net sales contribution.

    This section gives a clear snapshot of store performance for any selected time range. With KPIs, sales trends, and leaderboards, it helps admins quickly monitor business health, identify top-performing products, categories, and users, and make informed decisions based on real-time data.

  • Email Logs

    This section displays a report of email activity maintained within the platform.

    To view the Email Logs Report, follow these steps:

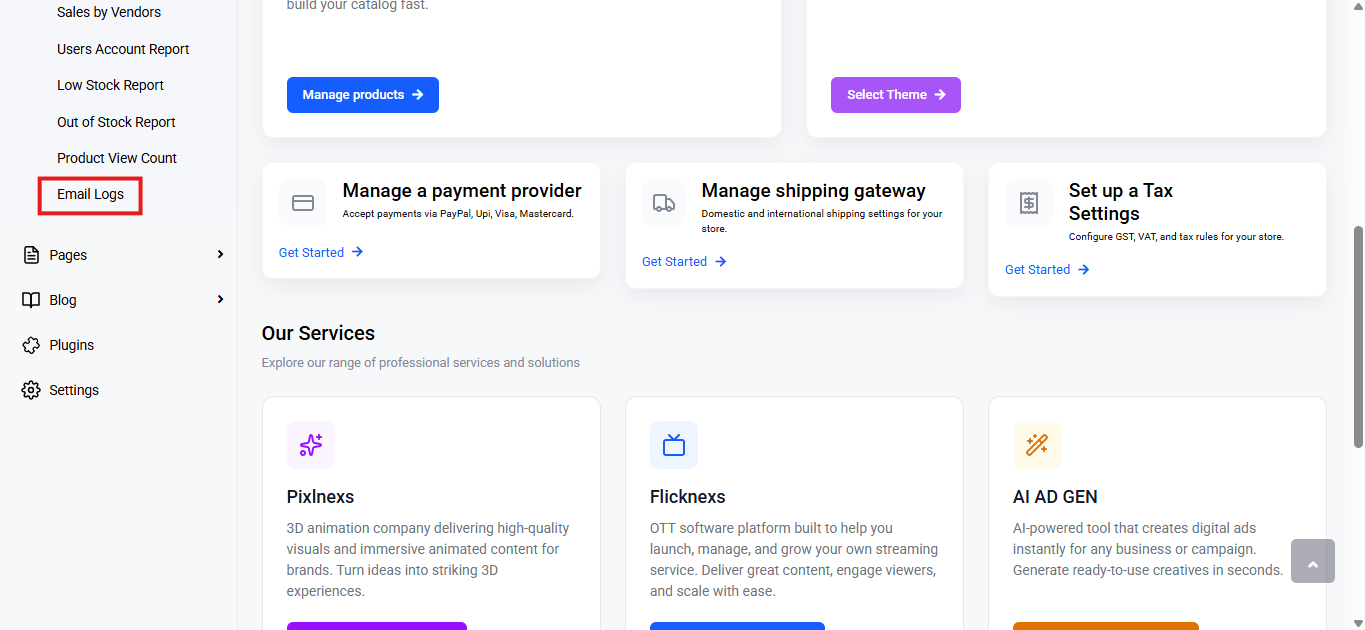
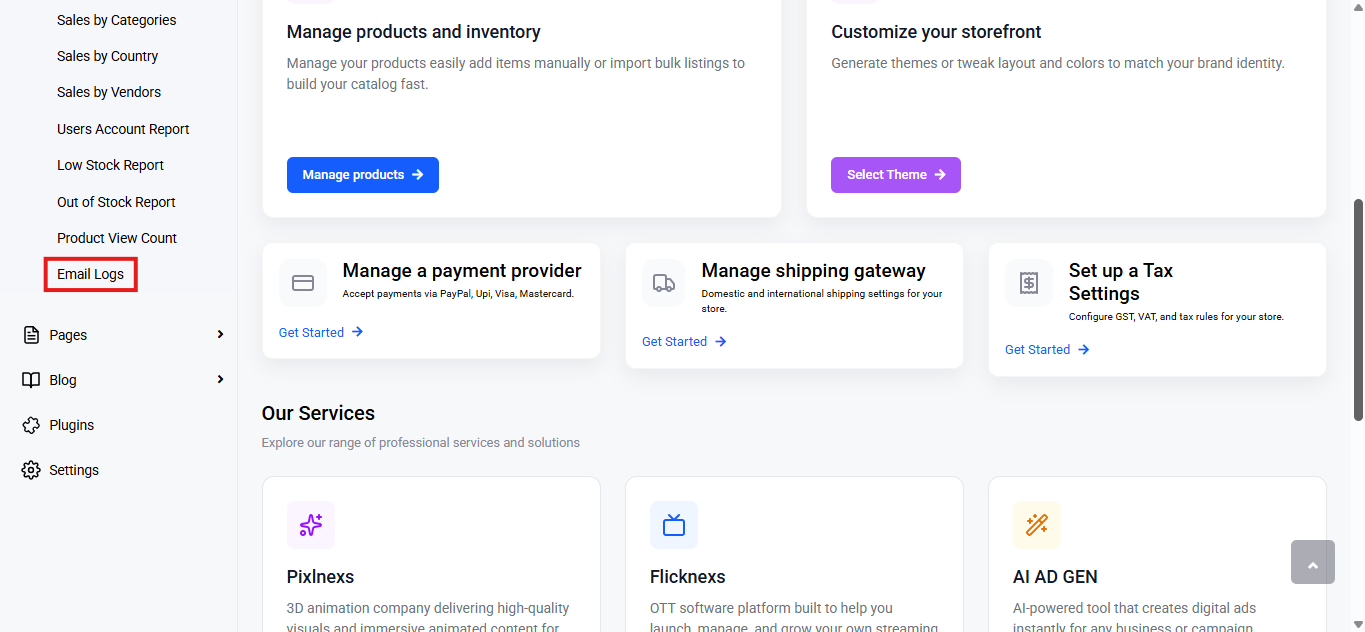
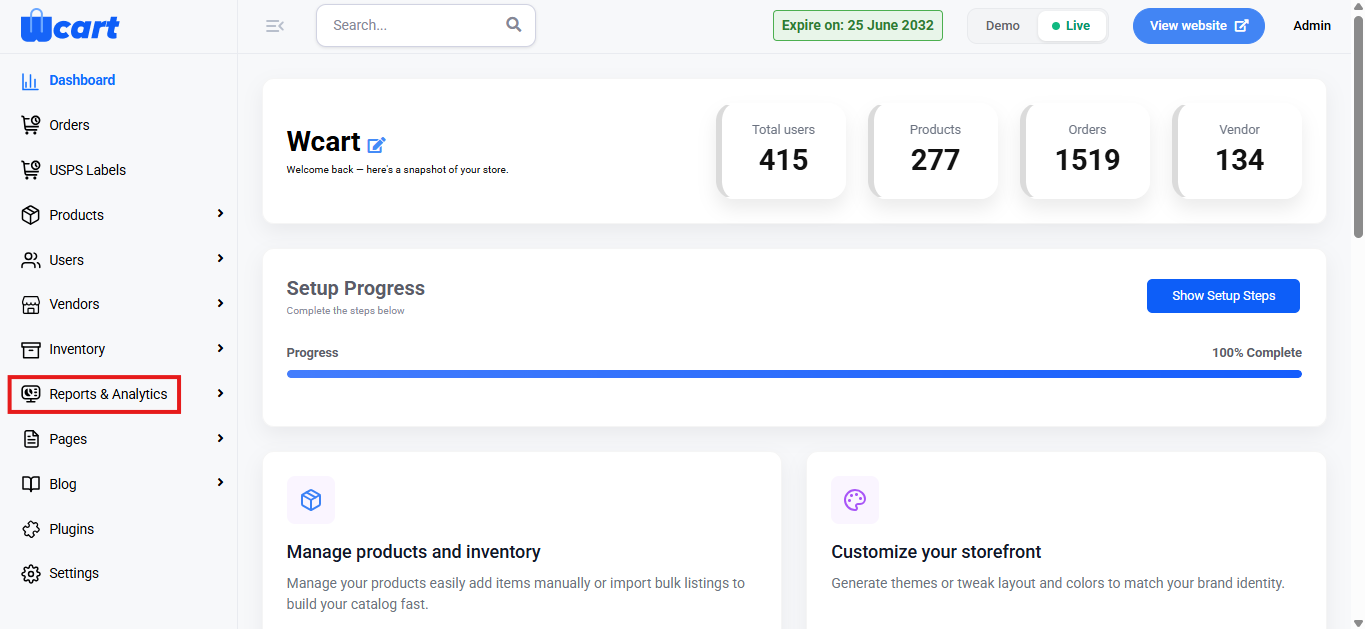
    • Navigate to the sidebar menu and select ‘Reports & Analytics’.
    • Select ‘Email Logs’ from the submenu.

    Export 

    Click Export to download the report.

     File Types Available:

    • CSV
    • Excel

    Choose a format and click Export to download.

    Below this control you will find a table with various columns to interpret email logs data quickly and accurately. The columns are listed below:

    • S.No: Displays the serial number of the email log entries.
    • Subject: Shows the subject line of the sent email.
    • Send to: Indicates the recipient’s email address.
    • Status: Reflects the email delivery status.
      • Success: The email was successfully sent and delivered to the recipient’s mail server.
      • Failed: The email could not be delivered to the recipient.
    • Send Date: The date the email was sent.
    • Content: Clicking the eye icon allows you to view the content of that specific email.

    This section offers a quick overview of email activity, with export options and clear status details to easily track and verify sent emails.

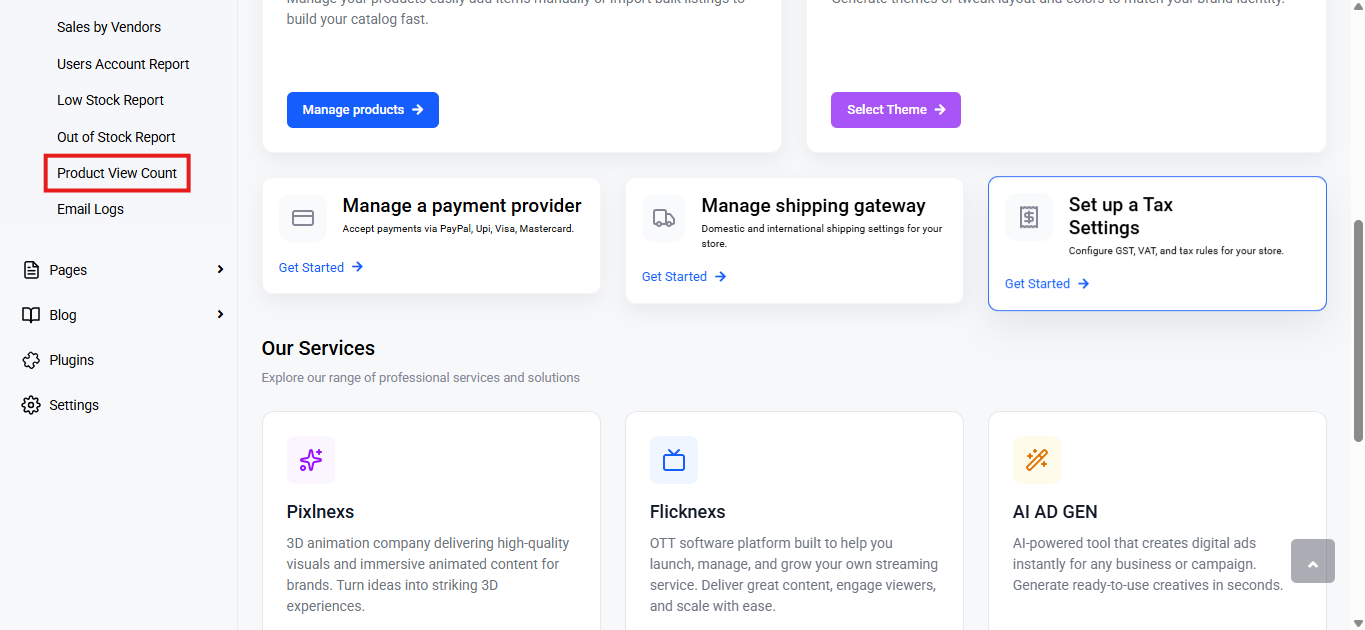
  • Product View Count 

    This section displays a report summarizing the number of views recorded for products across the platform.

    To view the Product View Count Report, follow these steps:

    • Navigate to the sidebar menu and select ‘Reports & Analytics’.
    • Select ‘Product View Count’ from the submenu.

    Export 

    Click Export to download the report.

    File Types Available:

    • CSV
    • Excel

    Choose a format and click Export to download.

    Below this control, you will find a table with various columns to interpret product view count data quickly and accurately. The columns are listed below:

    • S. No: Serial number indicating the position of the product in the list.
    • Name: Full name of the product being viewed.
    • View Count: Total number of times the product has been viewed by users.

    This report provides valuable insights into user engagement by tracking the number of views each product receives. This helps admins identify popular products and adjust marketing or inventory strategies accordingly to optimize sales performance.

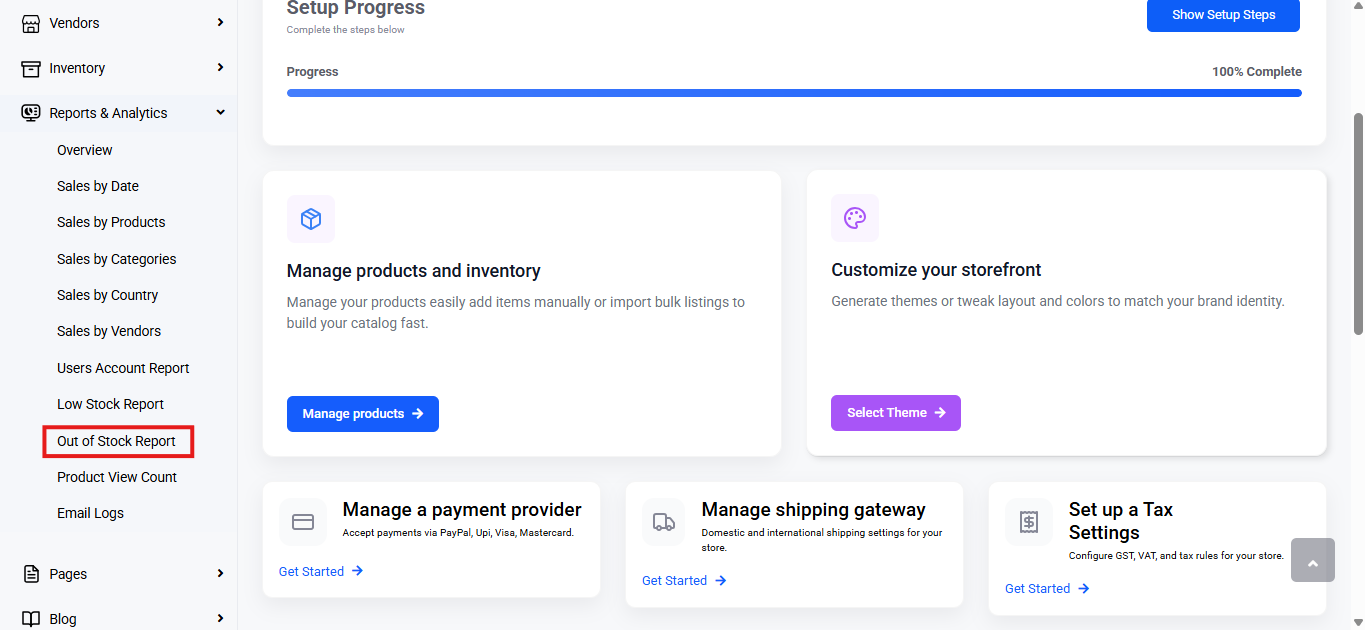
  • Out of Stock Report

    This section displays a report highlighting products that are out of stock within the platform.

    To view the Out of Stock Report, follow these steps:

    • Navigate to the sidebar menu and select ‘Reports & Analytics’.
    • Select ‘Out of Stock Report’ from the submenu.

    You will find a table with various columns to interpret out of stock data quickly and accurately. The columns are listed below:

    • Name: Displays the product name along with its URL slug.
    • Quantity: Shows the current available stock quantity of each product. In this report, it will always be zero.
    • Threshold: Indicates the predefined stock threshold set for low stock alerts.
    • Status: Indicates the status of the product.
      • Draft: The product is saved as a draft and is not visible to customers. It can be edited before being published.
      • Publish: The product is live and visible in the storefront for customers to purchase.
      • Verification Pending: The product is awaiting admin or system approval before it can go live.
    • Action: Provides quick-access icons to update or modify the product details. Clicking the icon will open the Edit Product page under ‘All Products’ in the Products section.

    This report provides a clear overview of products that are unavailable for purchase, helping admins quickly identify and manage stock issues. By offering detailed product information and easy access to editing options, it supports timely updates and ensures smooth inventory management.

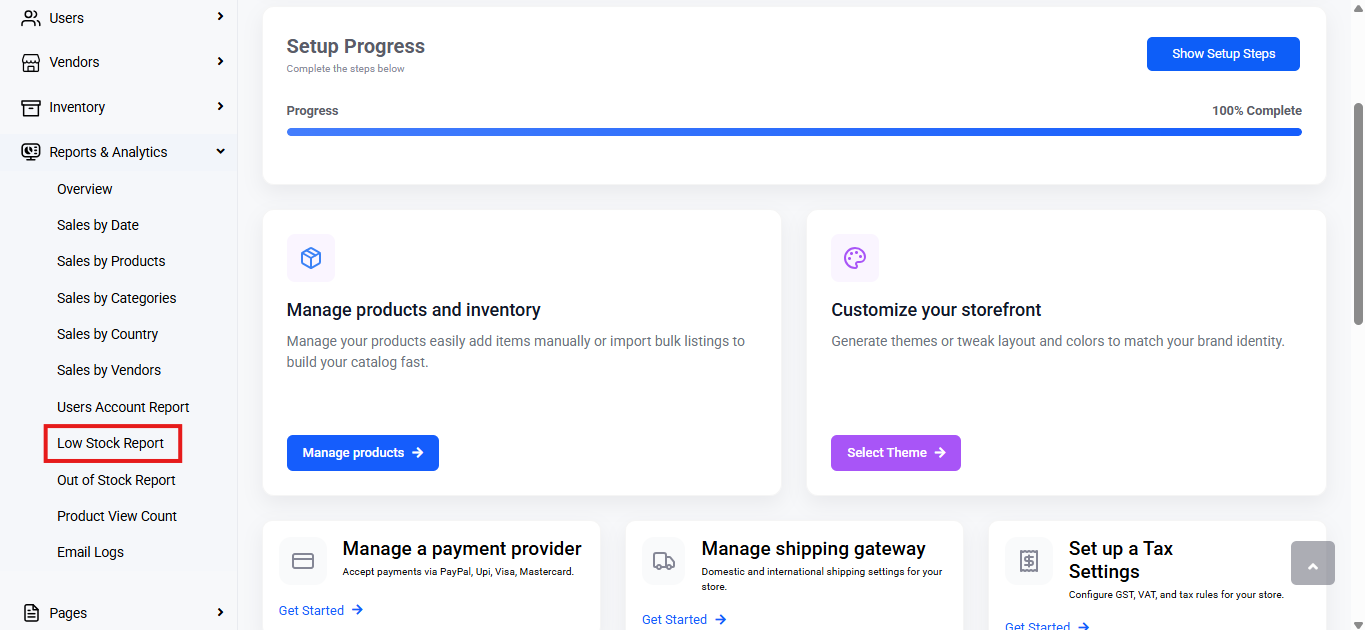
  • Low Stock Report

    This section displays a report highlighting products that are approaching low stock levels within the platform.

    To add multiple vendors, follow these steps:

    • Navigate to the sidebar menu and select ‘Reports & Analytics’.
    • Select ‘Low Stock Report’ from the submenu.

    You will find a table with various columns to interpret low stock data quickly and accurately. The columns are listed below:

    • Name: Displays the product name along with its URL slug.
    • Quantity: Shows the current available stock quantity of each product.
    • Threshold: Indicates the predefined stock threshold set for low stock alerts.
    • Status: Indicates the status of the product.
      • Draft: The product is saved as a draft and is not visible to customers. It can be edited before it is published.
      • Publish: The product is live and visible in the storefront for customers to purchase.
      • Verification Pending: The product is awaiting admin or system approval before it can go live.
    • Action: Provides quick-access icons to update or modify the product details. It will open the Edit product page in ‘All Products’ under Products.

    This report helps admins efficiently monitor products nearing low stock levels, enabling proactive management of inventory. By providing clear visibility into product status and stock quantities, it supports timely restocking decisions and ensures seamless operations.

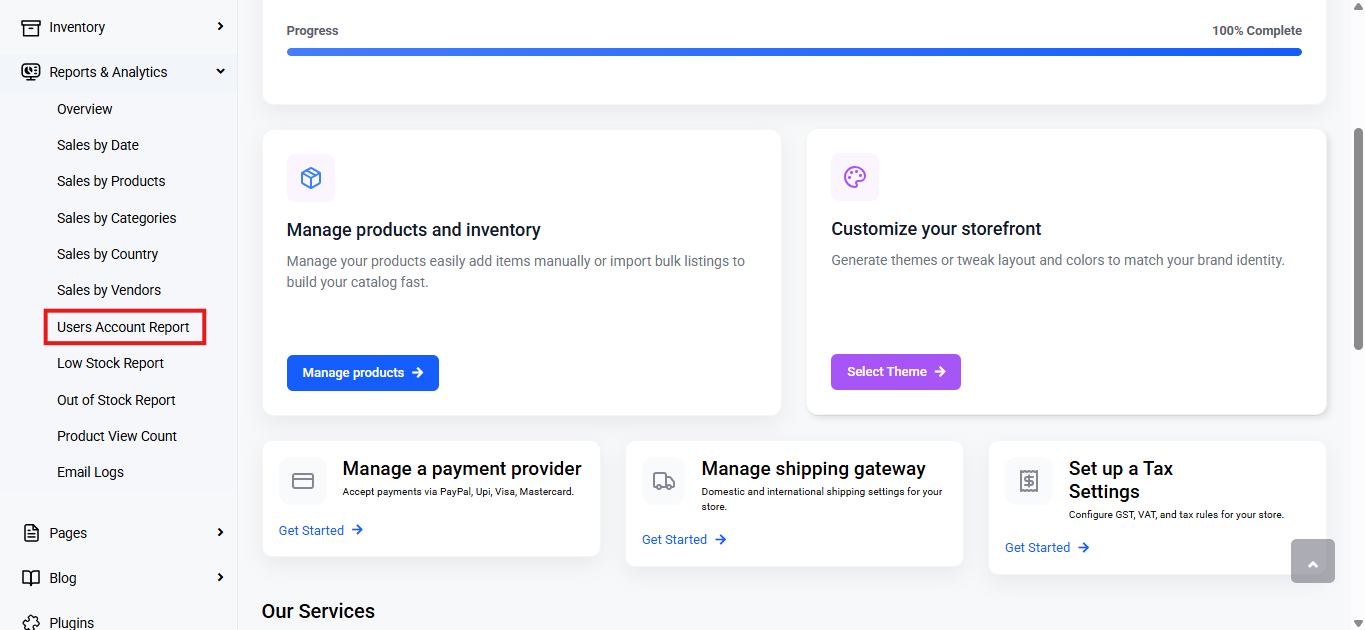
  • Users Account Report

    This report displays a date-wise summary of user registrations on the platform. This helps admins monitor user growth over specific periods.

    To add multiple vendors, follow these steps:

    • Navigate to the sidebar menu and select ‘Reports & Analytics’.
    • Select ‘Users Account Report’ from the submenu. 

    Range Selector

    • Purpose: Allows you to filter the dashboard data based on a specific time period.
    • Options Available:
      • Today
      • Yesterday
      • This Week
      • Last Week
      • This Month
      • Last Month
      • Custom Range: Select Custom Range to filter data for a specific period.
        • Choose start (From) and end (To) dates.
        • Click Submit to apply.
        • All reports will update based on the selected range.

    When a range is selected, all data in the dashboard is updated accordingly.

    Table Columns

    • Date: Displays the date of registration.
    • User Count: Total number of users registered on that specific date.
    • Action: Click the eye icon to view user details for that date. Clicking on this will open the ‘All Users’ side menu bar where user details can be viewed and edited.

    This report provides an easy-to-read summary of user registrations, allowing admins to track user growth over selected time periods and gain insights into registration patterns, helping improve user engagement strategies and platform management.