Looking for something? Search Here..


Generic selectors

Exact matches only

Search in title

Search in content

Post Type Selectors

Author: Sharon Hepzibah

  • Account Settings

    This section allows you to view and manage your profile details, including your name, role, email and profile image.

    To configure, follow these steps:

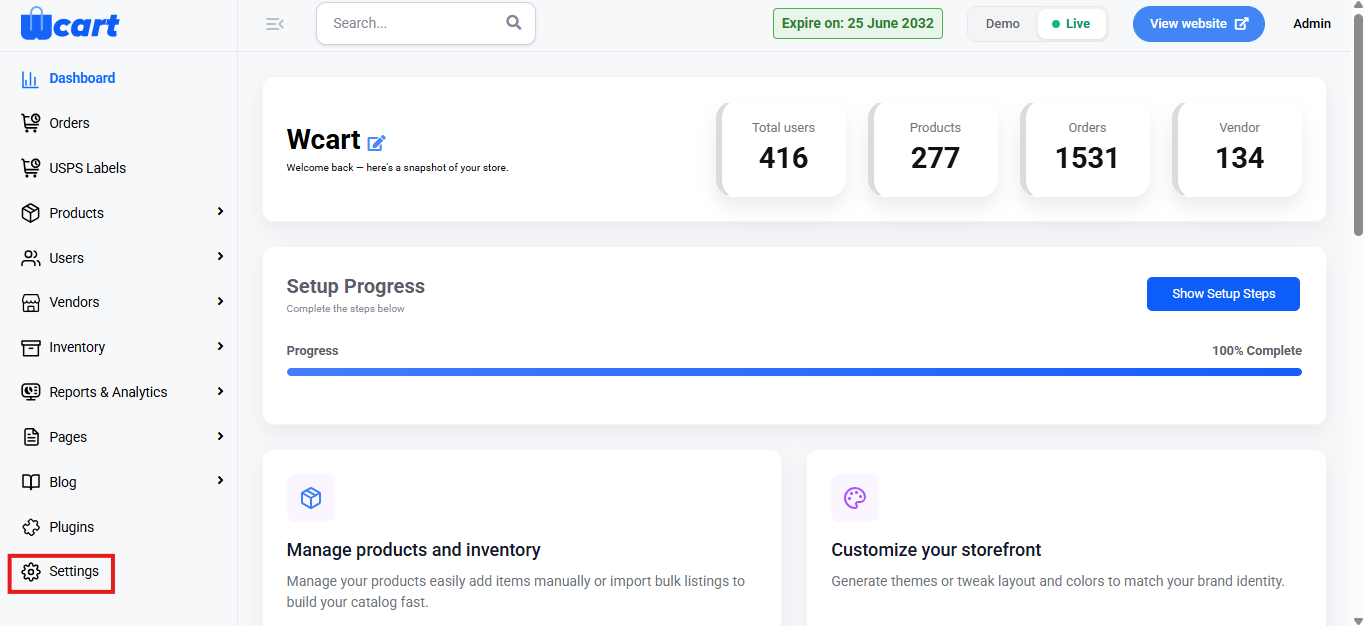
    • Navigate to the sidebar menu, click ‘Settings’.
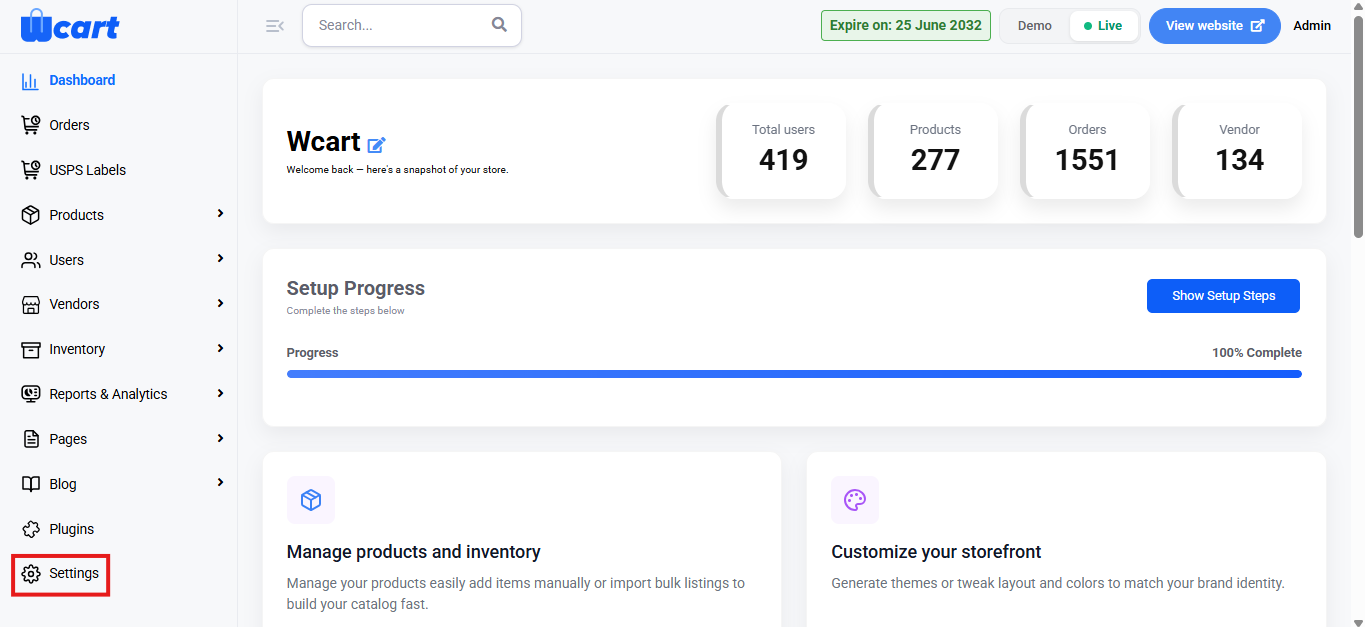
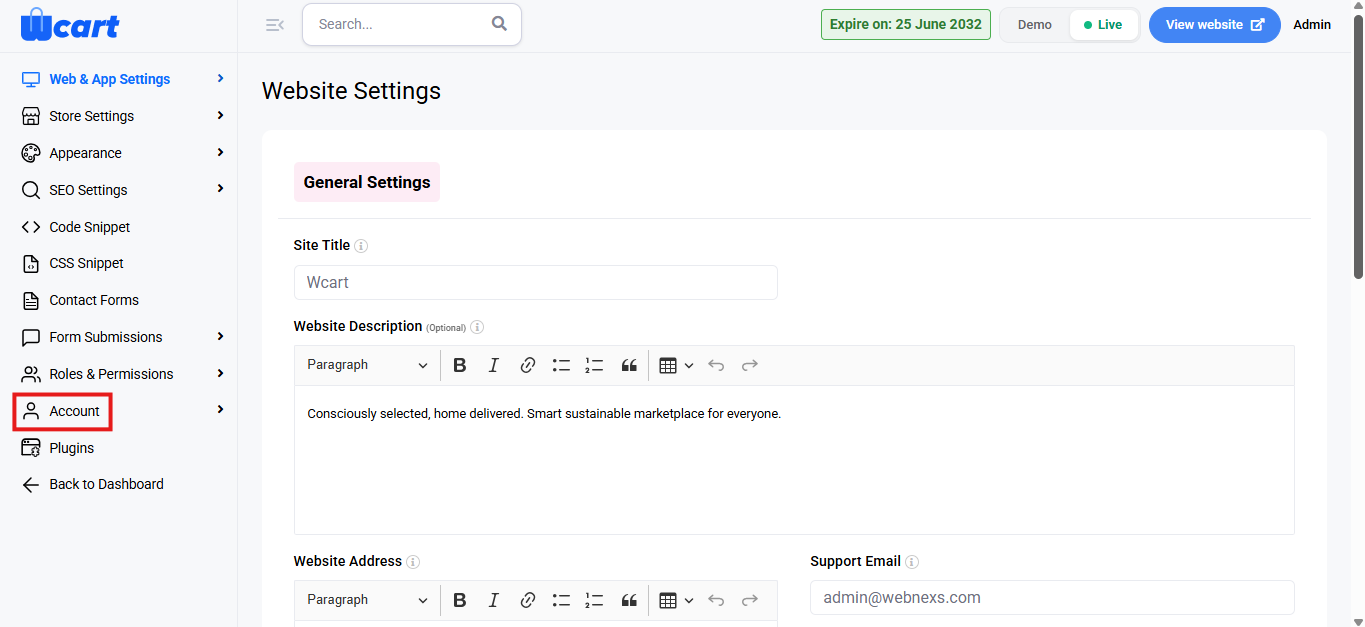
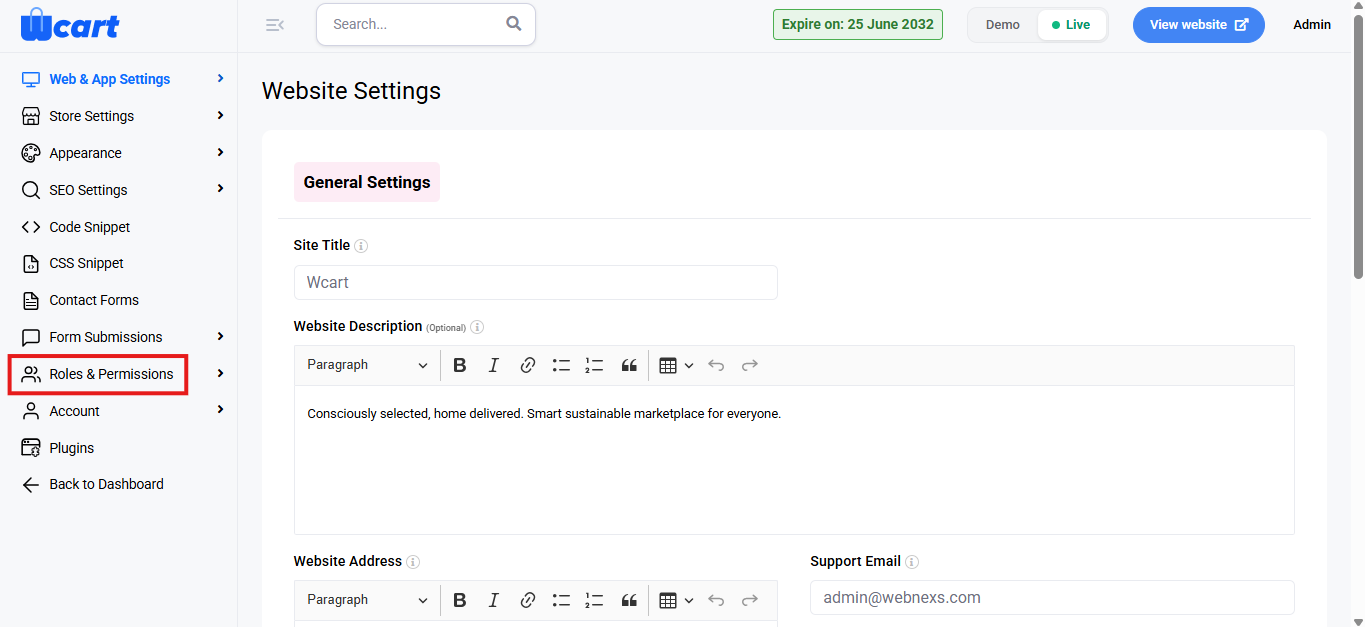
    • Select ‘Account’.
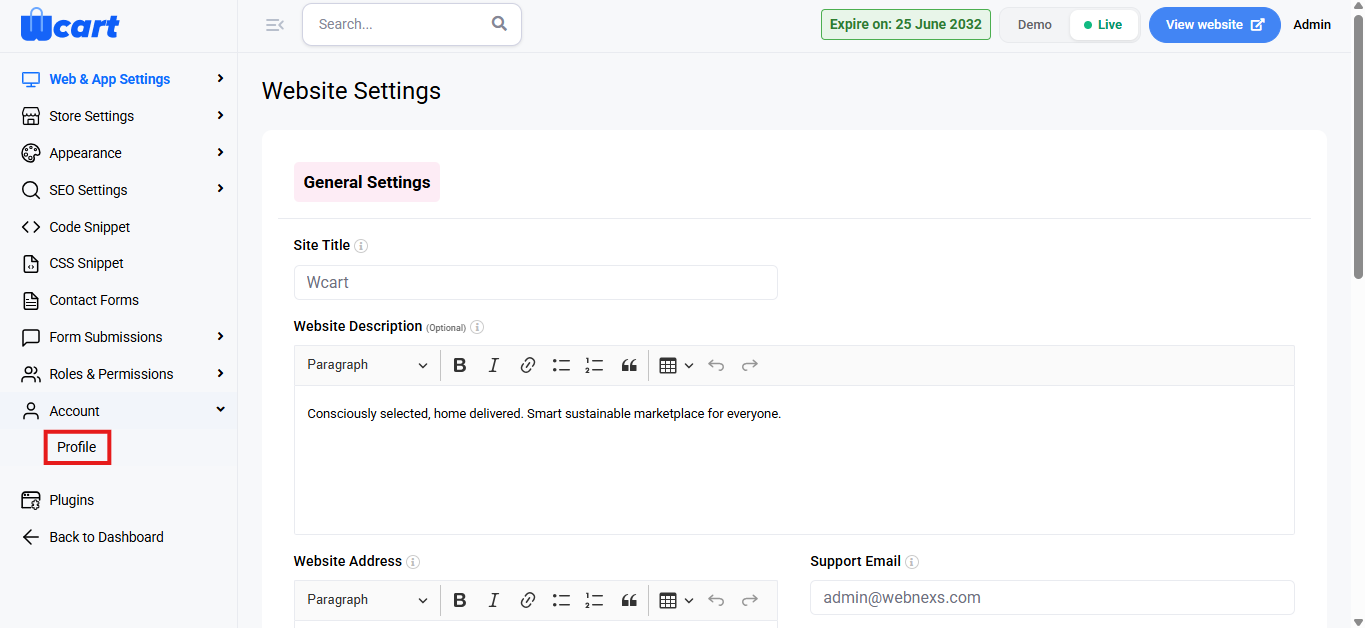
    • Next, choose ‘Profile’. 

    The Account page displays:

    • Name: Your account name.
    • Role: Your access level.
    • Email: The email associated with the account.
    • Profile Image: Displays your current profile picture.

    To edit your profile:

    Click the Edit Profile icon on the top-right corner of the profile section. Update the required fields:

    • Name
    • Role
    • Email
    • Profile Image (optional)
    • Update: Click this button to save changes. A toast notification ‘Staff Details Updated Successfully’ will appear to confirm the addition.
    • Cancel: Click to discard.

    Adding a New Staff Member

    The New Staff feature allows you to create additional users with defined roles and permissions.

    Fill in the staff details:

    • User Name: Enter the staff member’s name
    • Role: Select the appropriate role for the staff.
    • Email: Enter the staff member’s email.
    • Password: Set a password for the staff account.
    • Profile Image (optional): Upload a profile picture.
    • Status: Choose the current status of the staff member to define their level of access within the system.
      • Active: The staff member is fully operational and can access the system.
      • Disabled: The staff member’s account is disabled, meaning they cannot log in or access the system.
      • Blocked: The staff member is blocked from performing any actions, and their account is restricted in the system.
    • Submit: Click to save the new staff record. A toast notification ‘New Staff Added Successfully’ will appear to confirm the addition.
    • Close: Click to discard.

    Changing Staff Password

    You can update the password for any staff account from the Edit Staff page.

    To change a staff password:

    • Click the Change Password button in the Edit Staff page.
    • Enter the new password in the New Password field.
    • Re-enter the password in Confirm Password to verify.
    • Click ‘Change Password’ to save the new password. A toast notification ‘Password Updated Successfully’ will appear to confirm the update.  
    • Click ‘Close’ to cancel.

      These features ensure secure, organized and efficient management of user and staff access within the system.
    1. Social Sharing Medium 

      This feature allows you to manage social media platforms used for content sharing on the website.

      To configure, follow these steps:

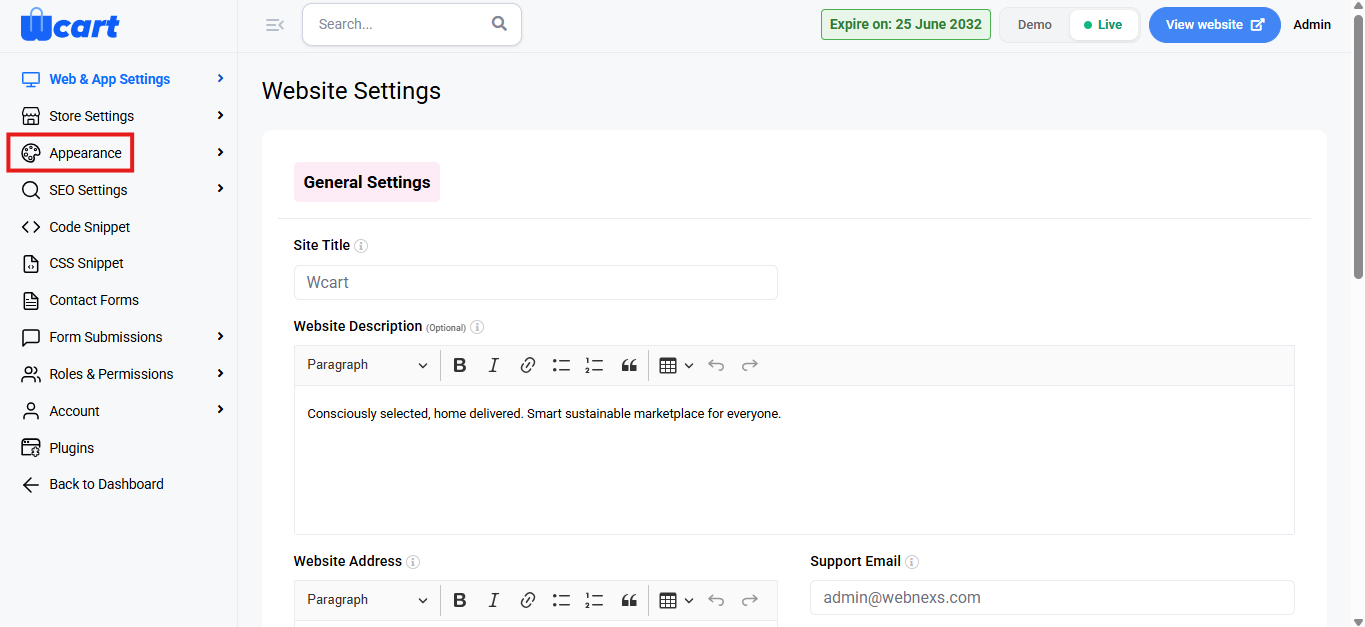
      • Navigate to the sidebar menu, click ‘Settings’.
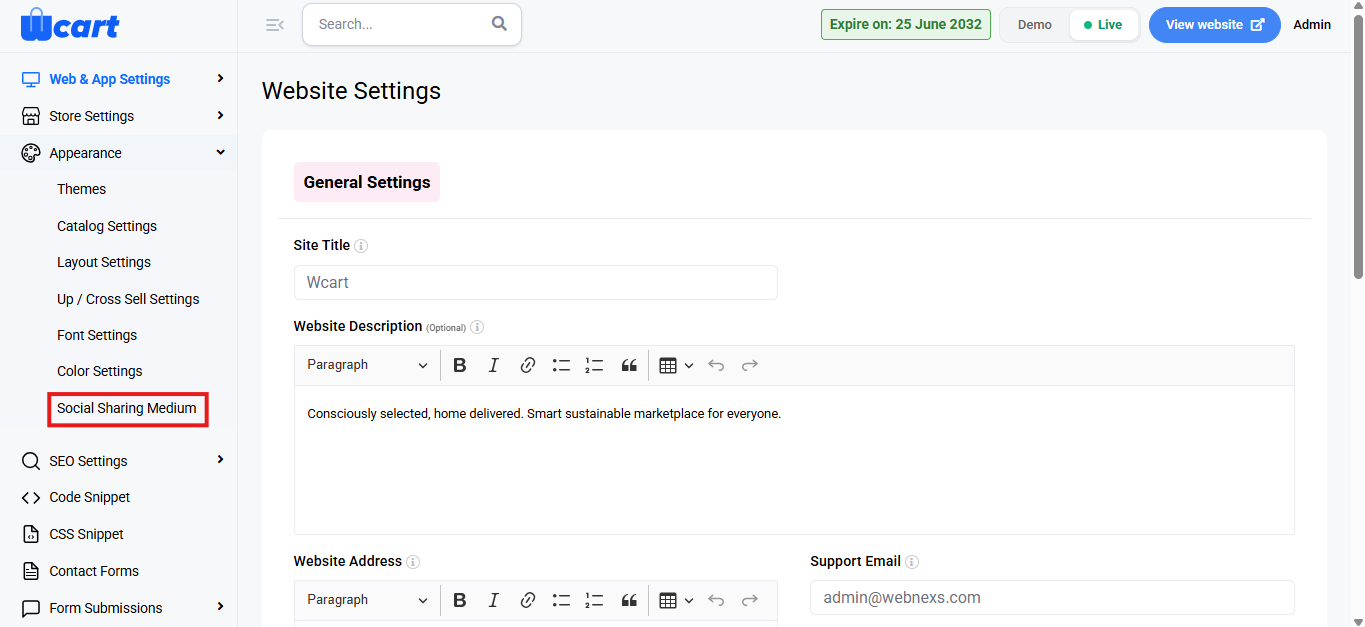
      • Select ‘Appearance’.
      • Next, choose ‘Social Sharing Medium’.

      Add Social Sharing Medium

      Click ‘+ New’ at the top-right of the page. Enter the required details as mentioned below:

      • Social Media Name: Enter the name of the social media platform.
      • Icon: Enter the icon class for the platform.
      • URL: Enter the sharing URL for the platform.
      • Submit: Click this button to save. A toast notification ‘Social Sharing Medium Added Successfully’ will appear to confirm the addition.
      • Close: Click this button to cancel.

      View Social Sharing Medium List

      This section displays all configured social sharing mediums in a tabular format.

      You will see a list with the following information:

      • S.No: Displays the serial number of the entry.
      • Name: Displays the social media platform name.
      • Icon: Displays the icon class used for the platform.
      • URL: Displays the configured sharing URL.
      • Action: Options to edit or delete.
        • Edit: The same form fields used when adding a new social link will be available for modification.
        • Delete: Removes the social link. A dialog box will appear with the text ‘Are you sure you wish to delete this Social link?’ along with ‘Ok’ and ‘Cancel’ options. Cancelling will remove the dialog box and clicking on ‘Ok’ will display this toast notification ‘Social Sharing Medium Deleted’ to confirm deletion.

      These settings help keep social media sharing clear and consistent across the website, with clear messages confirming each action.

    2. Color Settings

      This section allows you to customize the colors of various elements on your website or app, aligning with your brand or preferences. The settings are categorized, each controlling a different part of the user interface.

      To configure, follow these steps:

      • Navigate to the sidebar menu, click ‘Settings’.
      • Select ‘Appearance’.
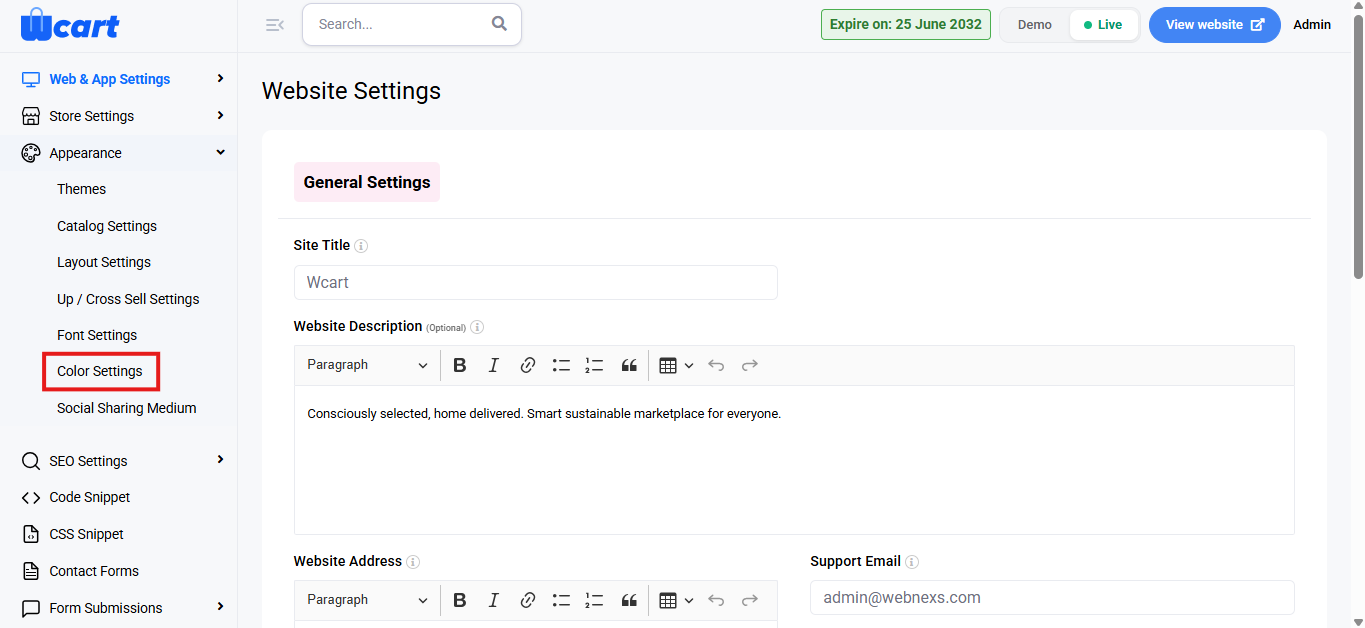
      • Next, choose ‘Color Settings’.

      Adjust Global Color Settings:

      • Global Color: Base color for your website background.
      • Base Color: The general color used for many sections of the site.
      • Primary Color: Typically used for buttons, links, and main action items.
      • Secondary Color: An additional color used for different page elements or accents.
      • Alert Color: Used for warning or error messages (usually red).
      • Success Color: Used for success messages, typically green.
      • Warning Color: Used for yellow alerts or notices.
      • Link Color: The color of hyperlinks on your site.
      • Link Hover Color: The color of hyperlinks when hovered over.
      • Divider Color: Color for dividers or borders between sections.
      • Dark Color: Color used for dark elements, such as dark mode background.

      Color Customization:

      • Click on each color box next to the respective label to open the color picker.
      • You can adjust the color by either selecting from the predefined swatches, entering a hex code or using the color slider.
      • Once you select the color, it will automatically update in the field.

      Preview Changes: The changes you make will reflect immediately in the preview area, giving you a live look at how the website will appear with the new settings.

      Submit: A toast notification ‘Global color updated successfully’ will appear to confirm the addition.

      Customizing the colors helps align the user interface with your brand, giving a consistent and personalized experience.

    3. Font Settings

      Global Font Settings

      This section allows you to customize the fonts for various sections of your website, such as the body, headings, paragraphs and buttons.

      To configure, follow these steps:

      • Navigate to the sidebar menu, click ‘Settings’.
      • Select ‘Appearance’.
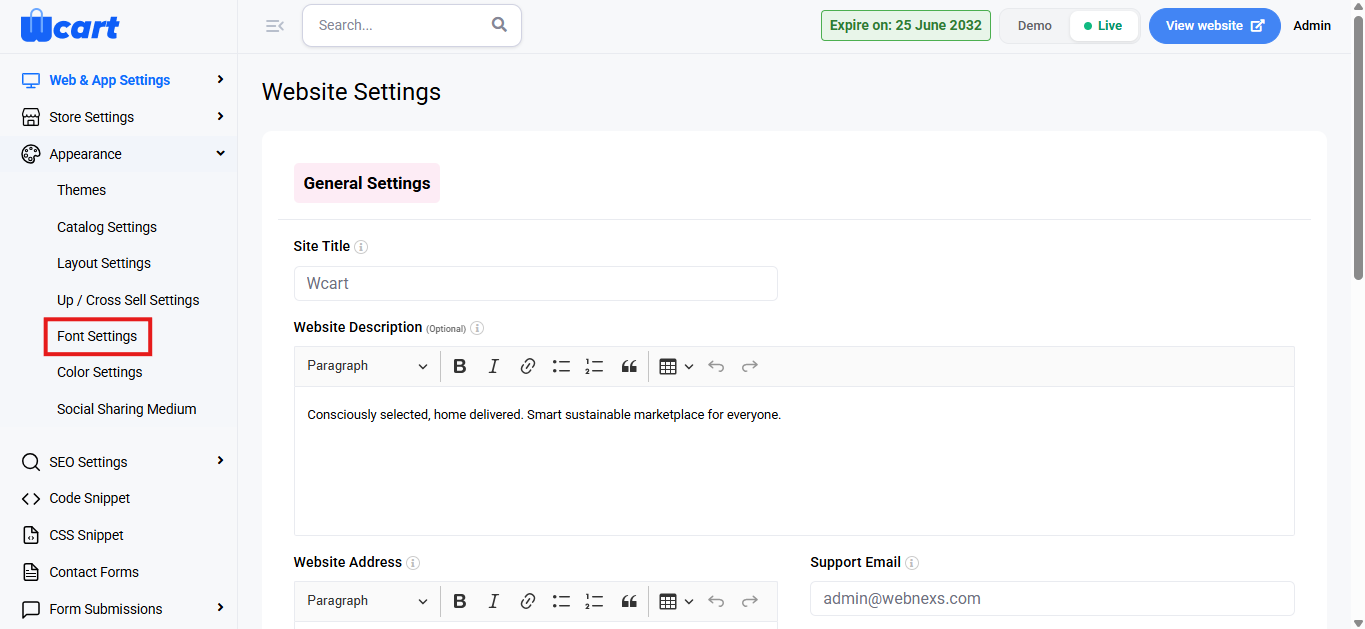
      • Next, choose ‘Font Settings’. 

      You will see fields for the following font types:

      • Body Font
      • H1 Font
      • H2 Font
      • H3 Font
      • H4 Font
      • H5 Font
      • H6 Font
      • Paragraph Font
      • Link Font
      • Button Font
      • Select Fonts for Each Section: For each font type, click the dropdown next to the respective field to choose the desired font from the available list. The dropdown list that appears are the ones that are configured by clicking ‘Website Fonts’at the top-right corner of the page.
      • Submit: Click this button at the bottom to save your settings. A toast notification ‘Global Font Settings Updated Successfully’ will appear to confirm the update.

      Add a New Font:

      Click the ‘Google Font’ button in the top-right corner of the page.

      A pop-up window will appear with the form fields mentioned below:

      • Font Name: Enter a name for the Google font.
      • Font Family: Enter the font family name.
      • Google Link: Provide the URL of the Google font. This is the link you get when selecting a Google font from Google Fonts.
      • Submit: Click this button to save the font. A toast notification ‘Google font added successfully’ will appear to confirm the addition.
      • Close: Click this button to cancel.

      Add a Custom Font:

      Font Details:

      • Font Name: Enter a unique name for the custom font.
      • Font Family: Enter the font family.
      • Font Style: Choose between Normal or Italic for the font’s style.
      • Font Weight: Specify the font weight.
      • Font Display: Choose Block or other display settings.

      Upload Font Files:

      • Upload woff2: Click to upload the woff2 font file.
      • Upload woff: Click to upload the woff font file.
      • Upload svg: Click to upload the SVG font file.
      • Upload eot: Click to upload the eot font file.
      • Submit: Click this button to save the custom font. A toast notification ‘Custom font added successfully’ will appear to confirm the addition.
      • Close: Click this button to exit without saving.

      View Existing Fonts:

      You will see a list of fonts with the following information:

      • Font Name: The name of the font.
      • Font Family: The font family.
      • Delete: Removes the font. A dialog box will appear with the text ‘Are you sure you wish to delete this font?’ along with ‘Ok’ and ‘Cancel’ options. Cancelling will remove the dialog box and clicking on ‘Ok’ will display this toast notification ‘Font Deleted Successfully’ to confirm deletion.

      These settings allow you to easily change and customize the fonts on your website, giving it a unique and consistent look.

    4. Roles & Permissions – Manage Roles

      This section allows administrators to create, view, update, and delete user roles within the system. Roles define what actions staff members can perform by assigning specific permissions.

      To configure, follow these steps:

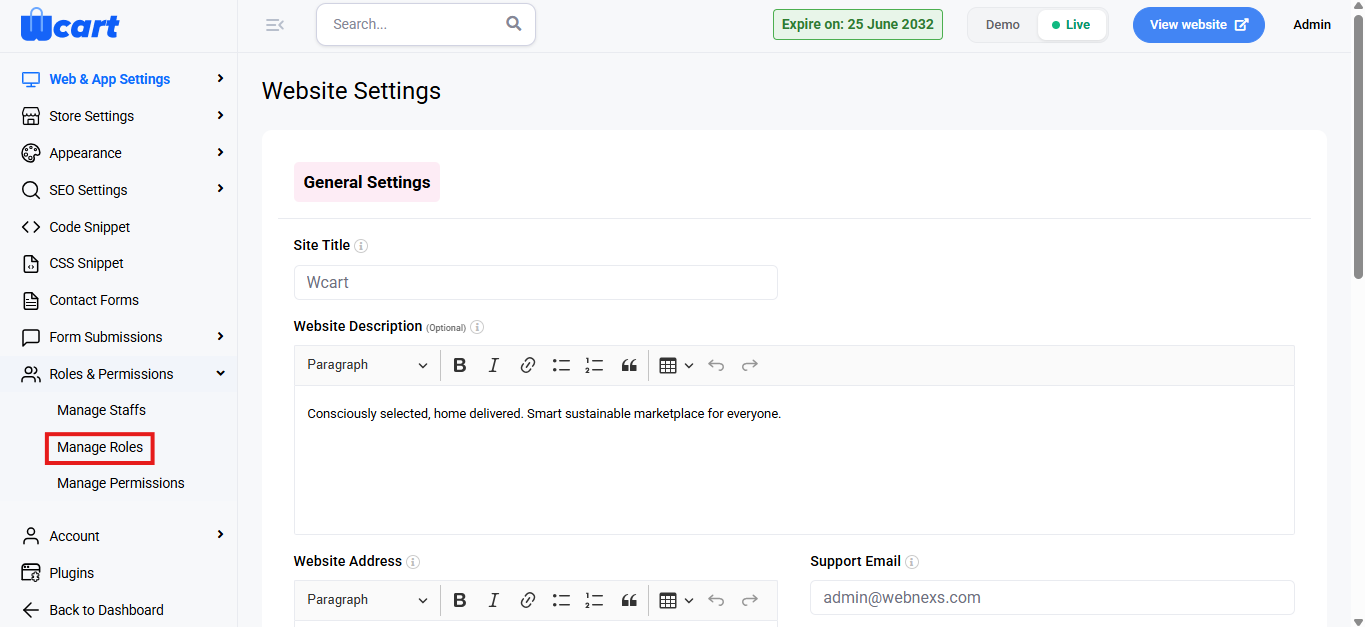
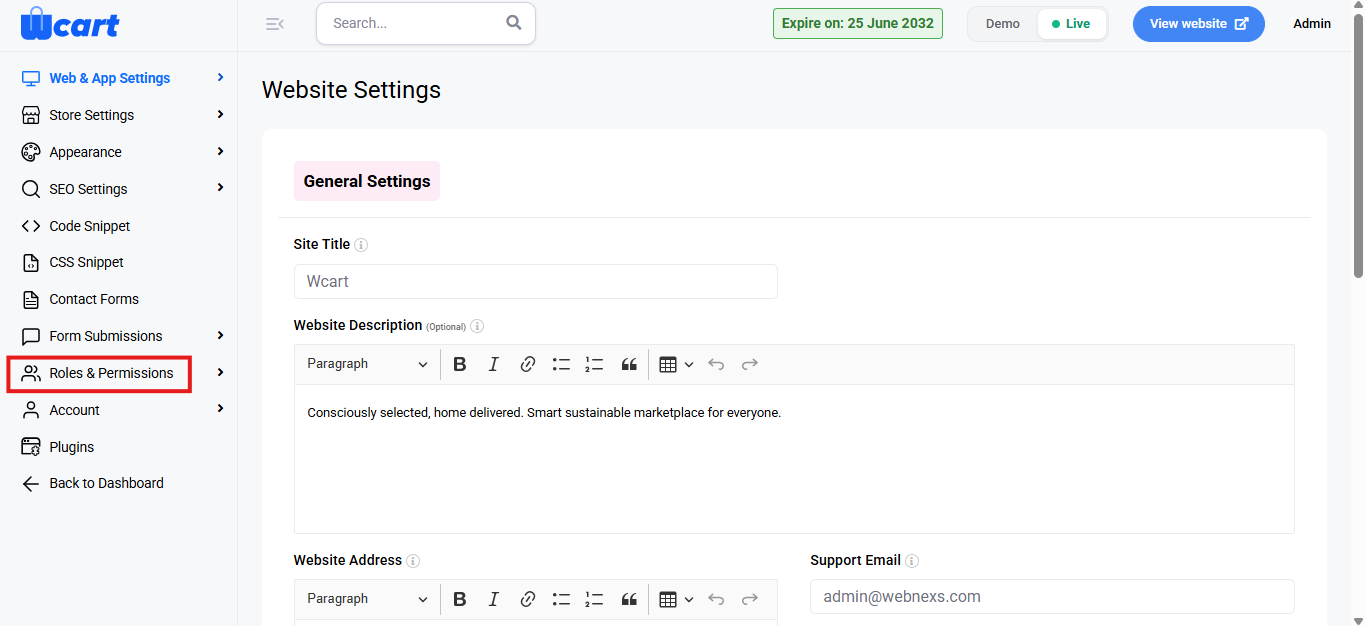
      • Navigate to the sidebar menu, click ‘Settings’.
      • Select ‘Roles & Permissions’.
      • Next, choose ‘Manage Roles’. 

      Add New Role

      Click the ‘+’ Add New Role button in the top-right corner of the ‘Manage Roles’ page. A pop-up window will appear asking for the following details:

      • Role Name: Enter a unique and descriptive name for the role.
      • Submit: Saves the role and allows permission configuration. A toast notification ‘New Role added successfully’ will appear to confirm the addition.
      • Cancel: Closes the pop-up without saving. 

      View Roles List

      This page displays a list of all roles with the following details:

      • S.No: Serial number of the role entry.
      • Role Name: Name assigned to the role.
      • Action:  Options to edit or delete the role.
      • Edit: Define and manage access permissions for a specific role. The column headers are mentioned below:
        • S.No: Displays the serial number of each permission item.
        • Permission: Indicates the module or feature for which access can be granted. The list of permissions is mentioned below. This list can also be found in Manage Permissions submenu within Roles & Permissions in the left sidebar menu.
          • Manage Products
          • Manage Categories
          • Manage Tags
          • Manage Brands
          • Manage Attributes
          • Manage Orders
          • Manage Users
          • Manage Vendors
          • Manage Commission
          • Vendor Earnings
          • Vendor Payouts
          • Manage Pages
          • Manage Blogs
          • General Settings
          • Email Settings
          • Payment Settings
          • Login API Settings
          • Login Screens
          • Theme Settings
          • Global Color Settings
          • Home Banners
          • SEO Settings
          • General Page SEO
          • Social Links
          • XML Sitemap
          • Manage Staffs
          • Manage Roles
          • Manage Permissions
          • Form Submissions
          • Website Fonts
          • Font Settings
          • Email Templates
          • Inventory Settings
          • Manage Territory
          • Manage Warehouse
          • Manage Store Location
          • Manage Warehouse Products
          • Manage Store Products
          • Social Sharing Medium
          • Reports Overview
          • Manage Coupons
          • Manage Currency
          • Manage Language
          • Manage Tax
          • Manage Return Settings
          • Manage Vendor Form Field
          • Abandoned Cart
          • Subscription Details
          • Shipping Settings
          • Store Address
          • Menu Settings
          • Manage Translations
          • Plan Based Restriction
          • Pincode Restriction
          • Localization
        • All (Checkbox): Tick to grant full access to the selected module (View, Create, Edit, and Delete).
        • View (Checkbox): Tick to allow viewing the module data.
        • Create (Checkbox): Tick to allow adding new records.
        • Edit (Checkbox): Tick to allow modifying existing records.
        • Delete (Checkbox): Tick to allow deleting records.
        • Using Role Permissions
          • In the permissions table, each row represents a system feature.
          • Select access using the columns:
            • All
            • View
            • Create
            • Edit
            • Delete
          • Choose All for complete control or select individual actions as needed.
          • Save the role to apply permissions to assigned staff. A toast notification ‘Role Setting Updated Successfully’ will appear to confirm the update. Click ‘Cancel’ to discard the changes.
      • Delete: Removes the selected role. A dialog box will appear with the text ‘Are you sure you wish to delete this role?’ along with ‘Ok’ and ‘Cancel’ options. Cancelling will remove the dialog box and clicking on ‘Ok’ will display this toast notification ‘Role Data Removed Successfully’ to confirm deletion.
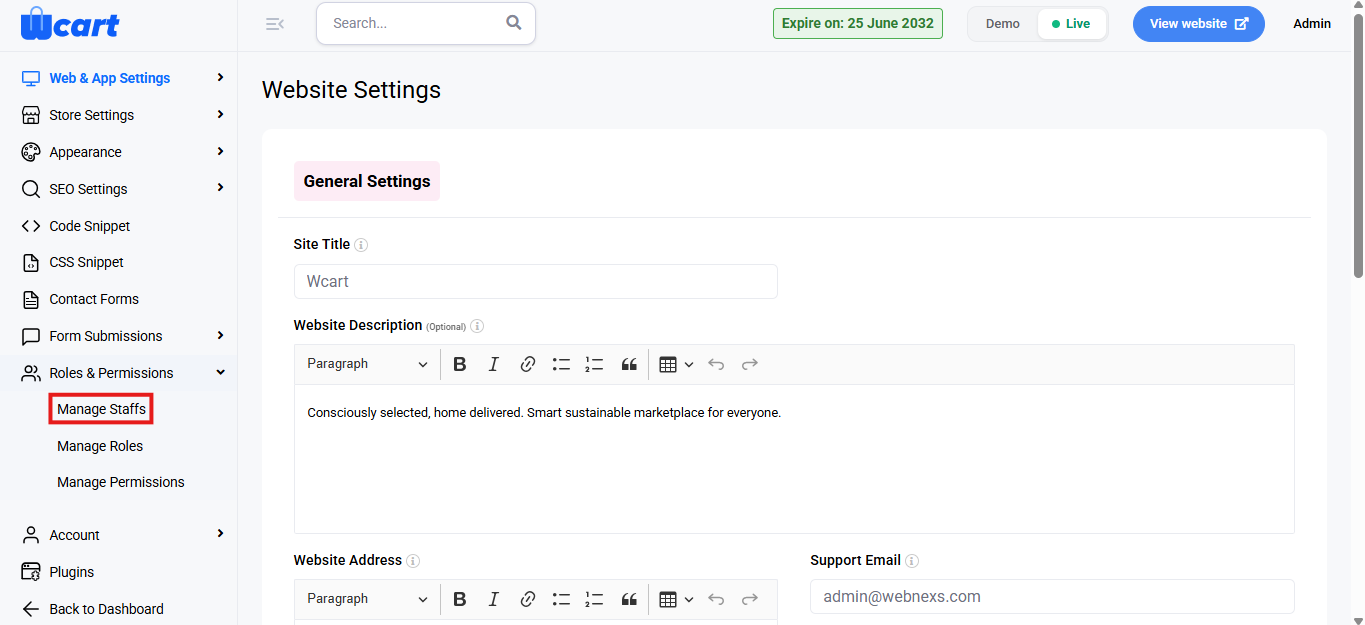
    5. Roles & Permissions – Manage Staffs

      The Roles & Permissions section allows you to manage staff, define roles, and assign specific permissions to control access to system features. It ensures appropriate access levels and responsibilities for each user. 

      This module has three navigation tabs to configure namely ‘Manage Staffs’ , ‘Manage Roles’ and ‘Manage Permissions’. This section covers ‘Manage Staffs’. Follow the links mentioned at the end of this section to the links to guide to ‘Manage Roles’ and ‘Manage Permissions’.

      To manage staffs , follow these steps:

      • Navigate to the sidebar menu, click ‘Settings’.
      • Select ‘Roles & Permissions’.
      • Next, choose ‘Manage Staffs’. 

      Manage Staffs

      This section allows you to manage the staff members of your system. 

      Add New Staff

      Click the ‘+’ New Staff button in the top-right corner of the ‘Manage Staffs’ page. A pop-up window will appear asking for the following details:

      • User Name: Enter the name of the new staff member.
      • Role: Select the role for the new staff member.
      • Email: Enter the email address of the staff member.
      • Password: Set a password for the staff member.
      • Profile Image: Optionally, upload a profile image for the staff member.
      • Status: Choose the current status of the staff member to define their level of access within the system.
        • Active: The staff member is fully operational and can access the system.
        • Disabled: The staff member’s account is disabled, meaning they cannot log in or access the system.
        • Blocked: The staff member is blocked from performing any actions, and their account is restricted in the system.
      • Submit: Click to save the new staff record. A toast notification ‘New Staff Added Successfully’ will appear to confirm the addition.

      View Staff List

      This page displays a list of all staff members with the following details:

      S.No: Serial number.

      • Name: The name of the staff member.
      • Email: The staff member’s email address.
      • Role: The role assigned to the staff member.
      • Action: Options to edit or delete the staff record.
        • Edit: The same form fields in the ‘Add Staff’  pop-up window will appear to modify the details. Additionally, password can be changed and new staffs can be added.
          • Changing Password: Click on ‘Change Password’ at the top-right corner. It contains the below mentioned form fields: 
            • New Password: Enter the new password for the staff member. Ensure it meets any security requirements set by your system.
            • Confirm Password: Re-enter the same password to confirm it.
            • Change Password: Click this button to update the staff member’s password. A toast notification ‘Password Updated Successfully’ will appear to confirm the update.
        • Delete:  Removes the selected staff. A dialog box will appear with the text ‘Are you sure you wish to delete this staff?’ along with ‘Ok’ and ‘Cancel’ options. Cancelling will remove the dialog box and clicking on ‘Ok’ will display this toast notification ‘Removed Staff Successfully’ to confirm deletion.

      This feature ensures proper access control and helps maintain system security by managing staff access levels.

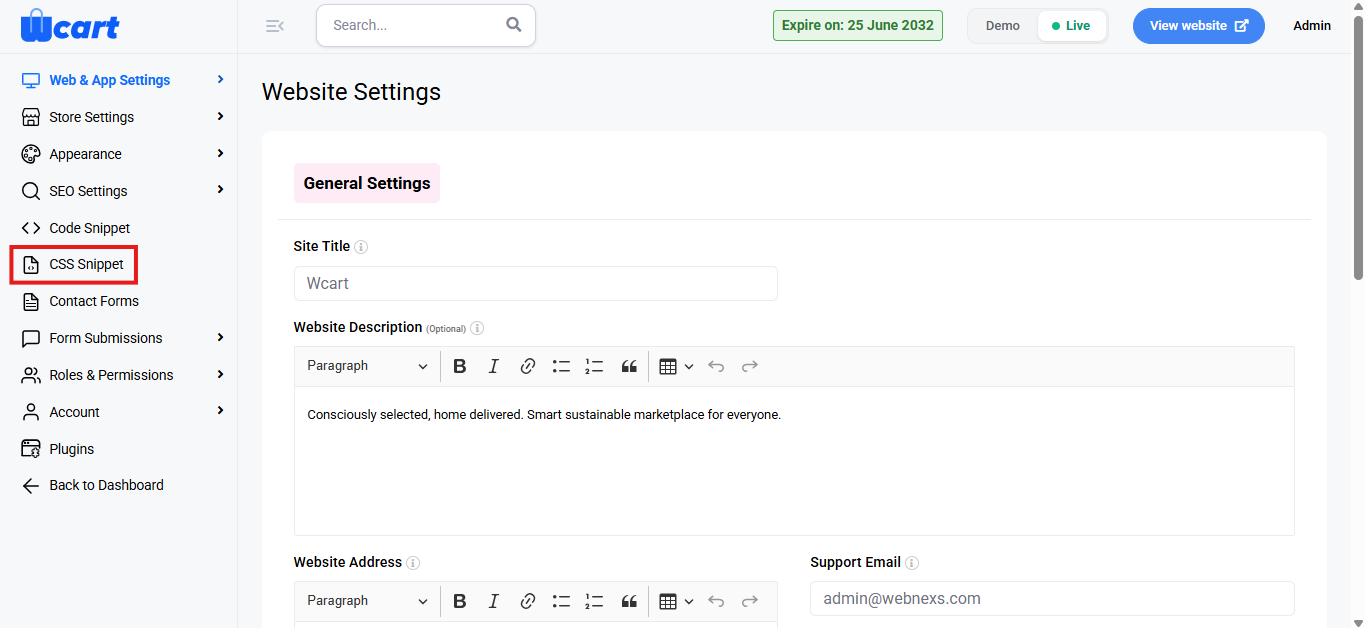
    6. CSS Snippet

      This section enables you to easily apply custom styles to your website, ensuring a consistent and personalized design. This flexibility enhances the overall user experience by allowing tailored visual adjustments.

      To configure, follow these steps:

      • Navigate to the sidebar menu, click ‘Settings’.
      • Select ‘CSS Snippet’.

      You have three main fields to add your custom CSS for different device types:

      All Devices:

      • This section allows you to apply custom CSS that will affect your website on all devices (desktop, tablet, mobile).
      • Paste your CSS code in this box to ensure global styles across all devices.

      Tab:

      • Use this section to add custom CSS that will apply when your website is viewed in tablet mode.
      • This allows you to tweak your layout or style for tablets specifically.

      Mobile:

      • This section is for custom CSS that applies when your website is viewed on mobile devices.
      • You can modify elements such as font size, spacing, and layout to better fit smaller screens.

      This customization allows you to make precise adjustments for a more engaging and professional web experience.

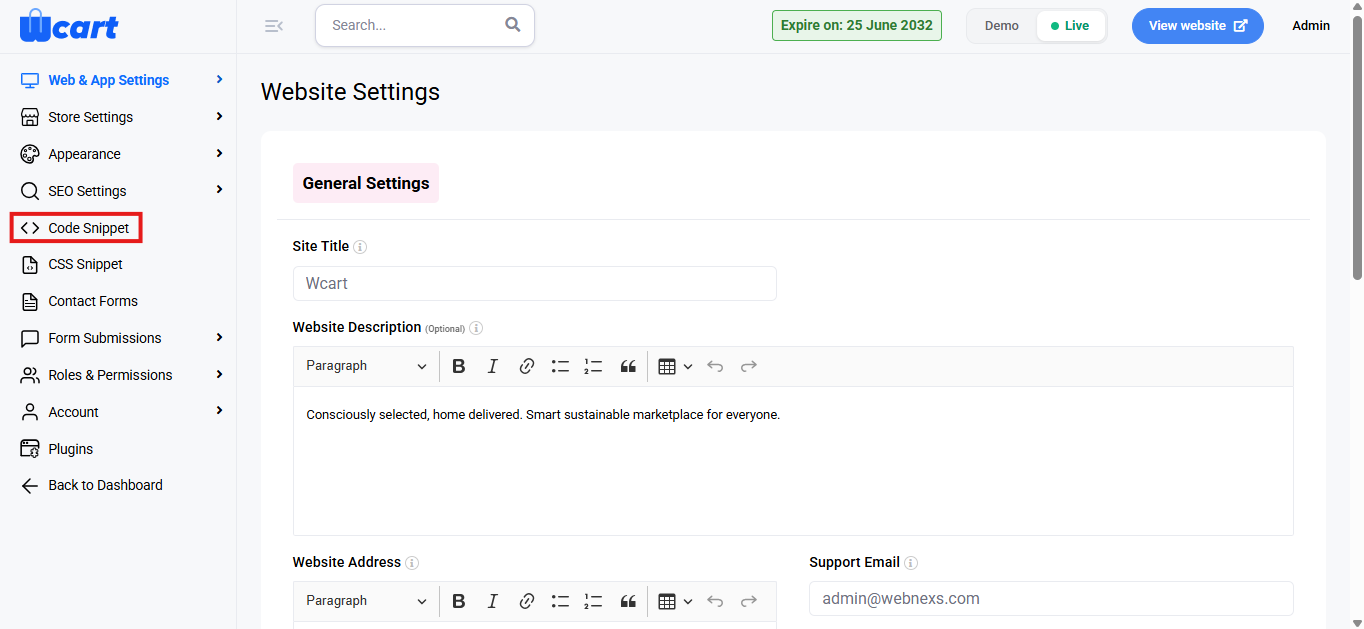
    7. Code Snippet

      This feature allows you to add custom scripts or code snippets to specific sections of your website layout. This is commonly used for analytics tools, tracking scripts, chat widgets, or third-party integrations.

      To configure, follow these steps:

      • Navigate to the sidebar menu, click ‘Settings’.
      • Select ‘Code Snippet’.

      Header and Footer Links

      This section provides dedicated fields to insert code snippets based on where they should appear on the website.

      Header Link

      • Use this field to add scripts that need to load in the header section of the website.
      • Common use cases include analytics tools, tracking scripts, or verification codes.
      • Paste the complete script code into the field as provided by the service.

      Footer Link

      • Use this field to add scripts that should load in the footer section of the website.
      • Footer scripts are typically used for performance optimization or non-critical integrations.

      Below Footer

      • Use this field to insert code that should appear below the footer section of the website.
      • This is useful for custom widgets, additional tracking scripts, or footer-level customizations.

      Actions

      • Click ‘Submit’ to save the added code snippets. The changes will be applied across the website based on the selected placement. A toast notification ‘Code Snippet Updated Successfully’ will appear to confirm the update.

      By managing scripts through this section, you can update or remove integrations without redeploying your website. This helps improve operational efficiency and reduces dependency on developers.

    8. SEO Settings – Permalink & Social Links

      The Permalink and Social Links settings enable you to manage SEO-friendly product URLs and maintain your social media presence effectively. Proper configuration ensures better search visibility, consistent branding, and improved user engagement across your website.

      To configure, follow these steps:

      • Navigate to the sidebar menu, click ‘Settings’.
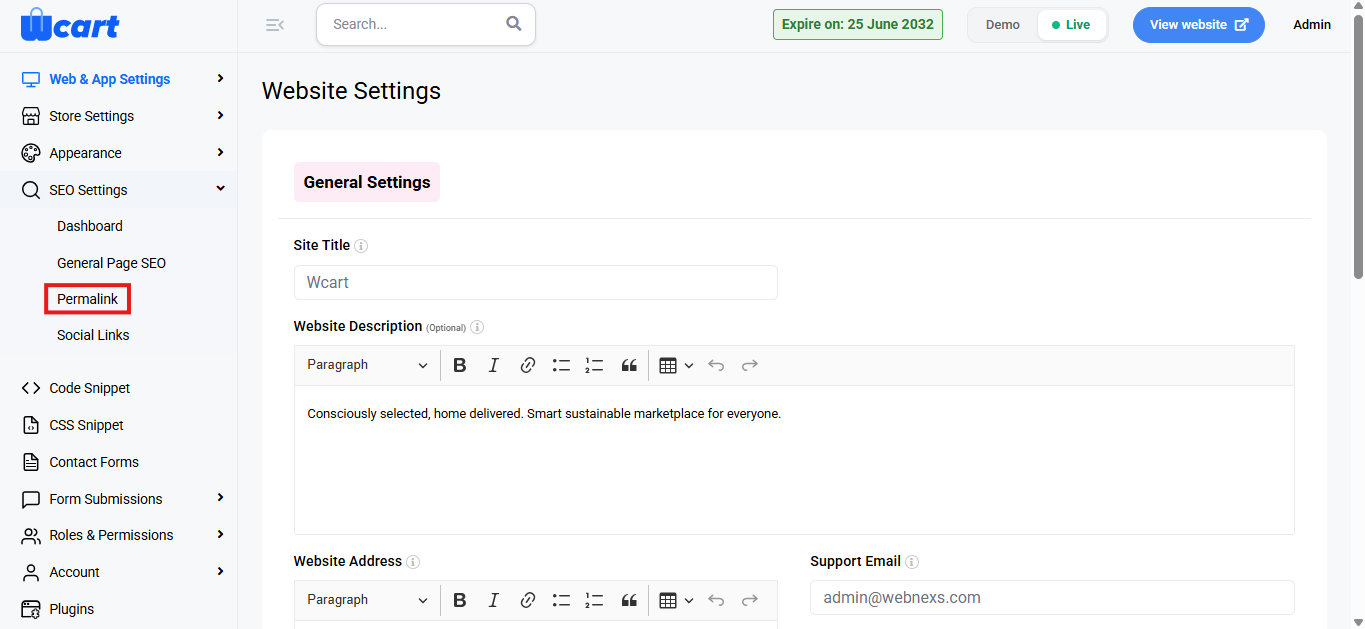
      • Select ‘SEO Settings’.
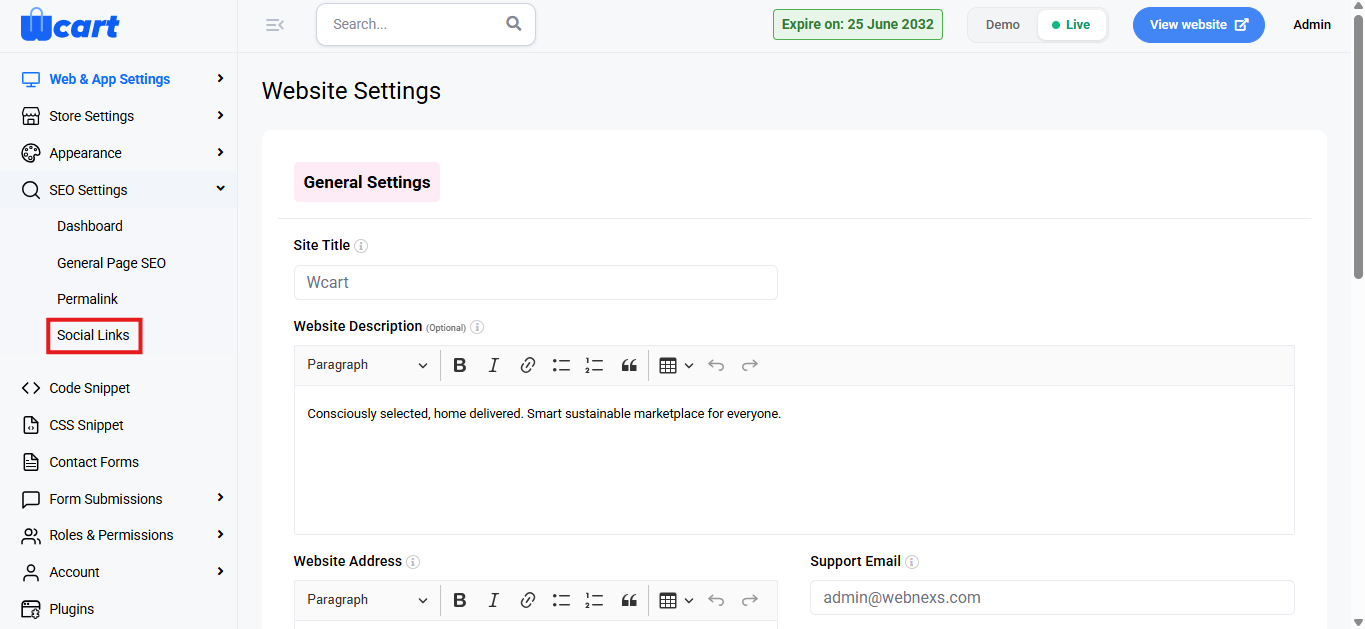
      • Next, choose ‘Permalink’. After configuring it, select ‘Social Links’ from the submenu.

      Permalink

      This feature allows you to define the base URL structure for product pages on your ecommerce website. Configuring permalinks helps create clean, SEO-friendly URLs that are easy for users and search engines to understand.

      • Product Base:  Enter the base keyword that will appear in all product URLs.
      •  Save Changes: Click this button to apply the updated permalink structure. A toast notification ‘Updated successfully’ will appear to confirm the update.

      Social Links

      The Social Links section allows you to manage and display your website’s social media profiles. These links help users connect with your brand across various social platforms and improve overall trust and engagement.

      Add New Social Link

      Clicking New Social Link opens the form to add a new social media profile.

      Fields

      • Social Media Name: Enter the name of the social media platform.
      • Icon: Enter the icon class to visually represent the social media platform.
      • URL: Enter the complete URL of the social media profile.

      Actions

      • Click ‘Submit’ to save the social link. A toast notification ‘Social Link Added Successfully’ will appear to confirm the addition.
      • Click ‘Close’ to exit without saving.

      Social Links List View

      This screen displays all configured social media links with the following details:

      • S.No: Serial number of the entry.
      • Name: Name of the social media platform.
      • Icon: Icon class used to represent the social media platform.
      • URL: Website link to the social media profile.
      • Action: Manage social links with two options:
        • Edit: Modify the selected social link. The same form fields available in adding a new page are available here as well to modify.
        • Delete: Removes the selected social link. A dialog box will appear with the text ‘Are you sure you wish to delete this Social link ?’ along with ‘Ok’ and ‘Cancel’ options. Cancelling will remove the dialog box and clicking on ‘Ok’ will display this toast notification ‘Social Link Deleted’ to confirm deletion.

      The Permalink and Social Links settings help you create SEO-friendly URLs and manage your website’s social media presence efficiently. Proper configuration improves search visibility, brand consistency, and user engagement across your platform.

      To configure ‘Dashboard’ and ‘General Page SEO’, follow the guide links mentioned below:

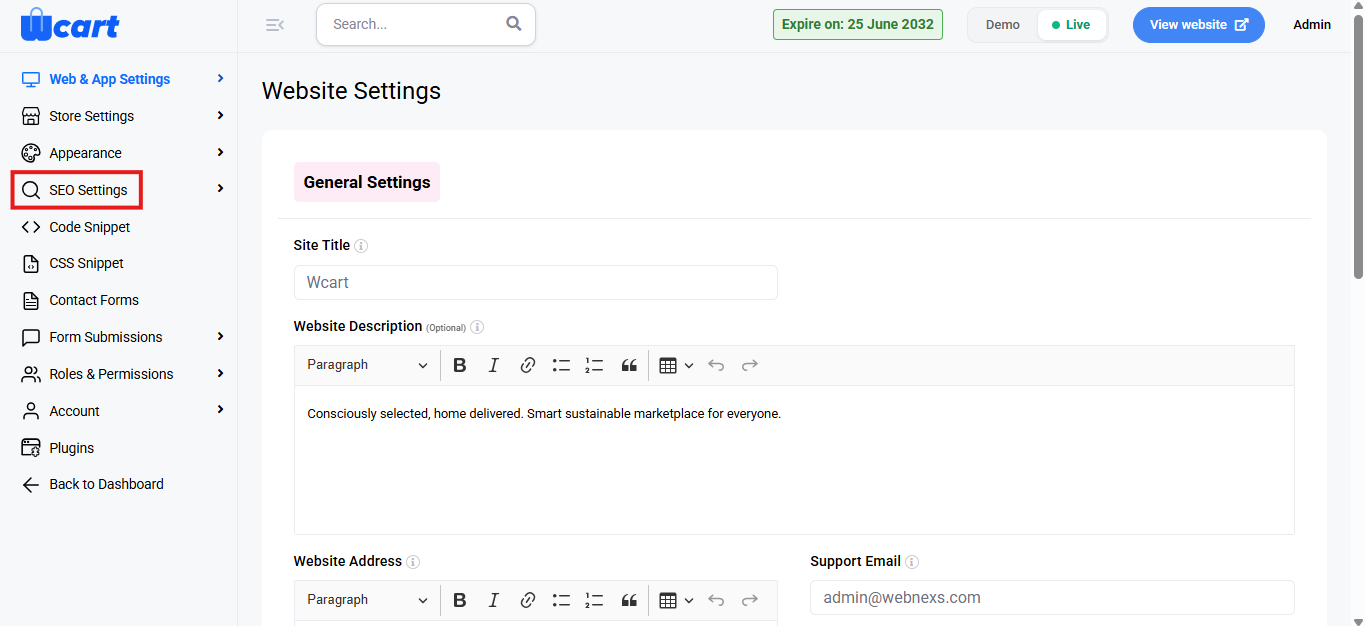
    9. SEO Settings – Dashboard & General Page SEO

      This allows you to manage search engine optimization configurations for your website, including global SEO details and page-level SEO metadata. This helps improve your website’s visibility on search engines like Google, Bing and others.

      The SEO Settings section consists four navigation tabs, they are:

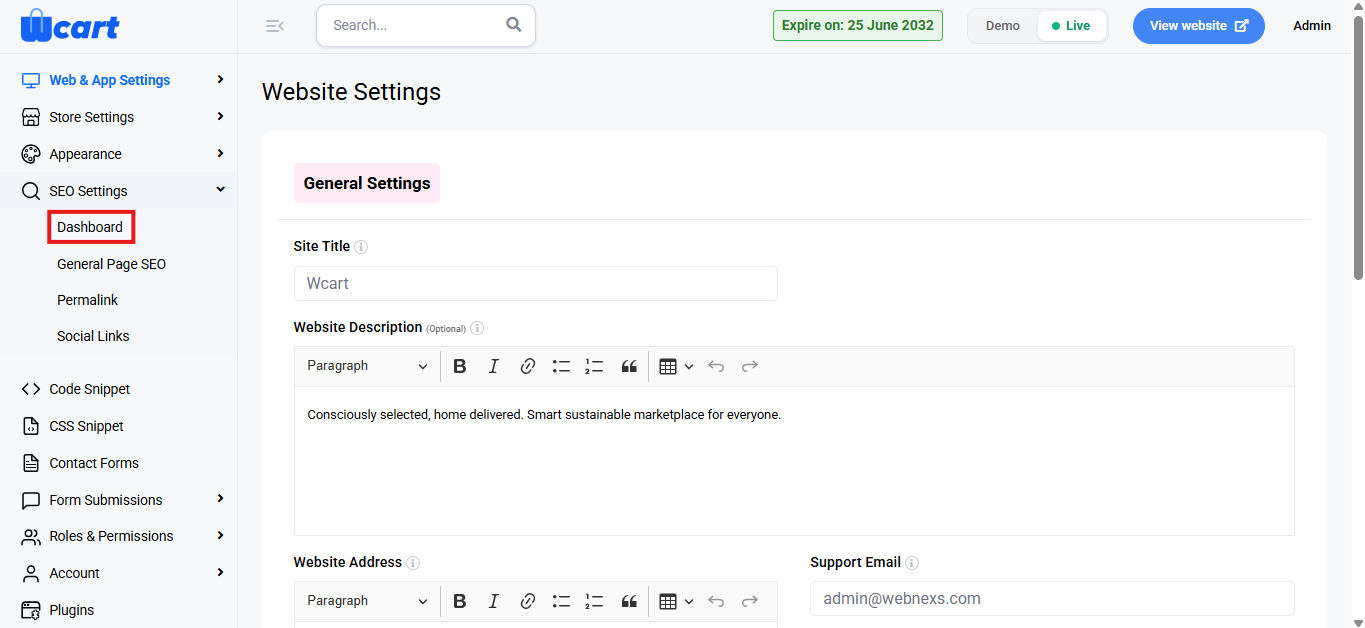
      • Dashboard
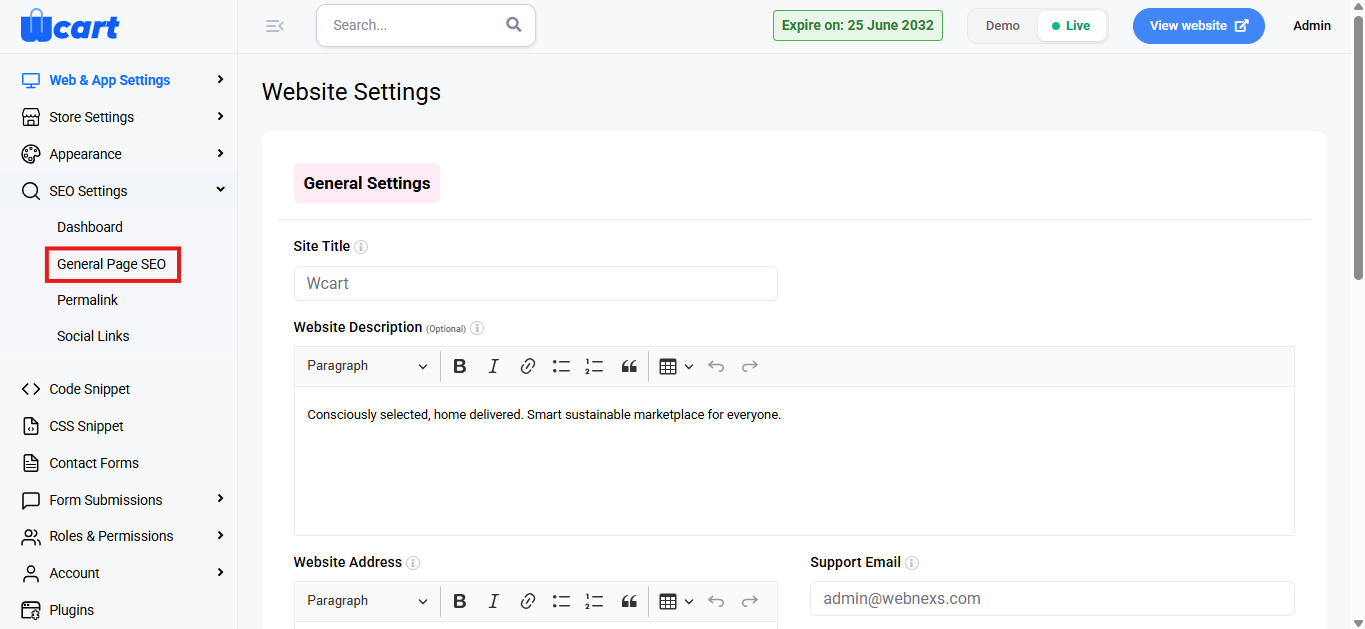
      • General Page SEO
      • Permalink
      • Social links

      In this section, Dashboard and General Page SEO are detailed. To configure Permalink and Social Links, follow the guide links mentioned at the end of this section.

      To configure, follow these steps:

      • Navigate to the sidebar menu, click ‘Settings’.
      • Select ‘SEO Settings’.
      • Next, choose ‘Dashboard’. After configuring it, select ‘General Page SEO’ from the submenu.

      SEO Dashboard

      The SEO Dashboard is the central place to configure global SEO and tracking tools for your website.

      Fields and Options

      • Website Name: Displays the name of your website. This is used as part of SEO metadata across the site.
      • Meta Separator: Define the separator symbol used between page titles and the website name in meta titles.
      • Company or Person: Select whether the website represents a company or an individual. This information is used for structured data.

      Marketing Tools

      • Google Tag Manager: Enable or disable Google Tag Manager integration. When enabled, enter your GTM container ID.
      • Google Analytics: Enable or disable Google Analytics tracking. When enabled, enter your Google Analytics tracking ID.
      • Facebook Pixel Code: Enable or disable Facebook Pixel integration. When enabled, enter your Facebook Pixel ID.
      • Google Search Console: Enter the verification code provided by Google Search Console.
      • Bing Webmaster Tools: Enter the verification code for Bing Webmaster Tools.
      • Yandex Webmaster Tools: Enter the verification code for Yandex Webmaster Tools.

      After entering the required details, click ‘Save Changes’ to apply the settings. A toast notification ‘Updated SEO Dashboard Data’ will appear to confirm the update.

      General Page SEO

      This section allows you to manage SEO metadata for individual website pages.

      Page List View

      This screen displays a list of all pages with the following information:

      • S.No: Serial number of the page entry.
      • Title: Name of the page.
      • Meta Title: SEO meta title configured for the page.
      • Status: Indicates whether the page SEO is published.
      • Action: Edit the SEO details for the selected page. All form fields in ‘New Page’ SEO form will be present except ‘Title’.

      Add New Page SEO

      Clicking ‘New Page’ opens the Add New Page SEO form, where you can create SEO metadata for a new page.

      Fields

      • Title: Enter the page name. This is used internally to identify the page.
      • SEO Title: Enter the meta title that will appear in search engine results.
      • SEO Description: Enter a brief meta description summarizing the page content. This helps improve click-through rates from search results.
      • SEO Keyword (Optional): Enter relevant keywords associated with the page for SEO reference.

      Actions

      • Click ‘Submit’ to save the page SEO details. A toast notification ‘Page Added Successfully’ will appear to confirm the update.
      • Click ‘Close’ to exit without saving.

      By configuring the SEO Dashboard and General Page SEO settings, you can manage global and page-level SEO metadata effectively. This ensures better search engine visibility and control over how your pages appear in search results.

      To configure ‘Permalink’ and ‘Social Links’, follow the guide links mentioned below: