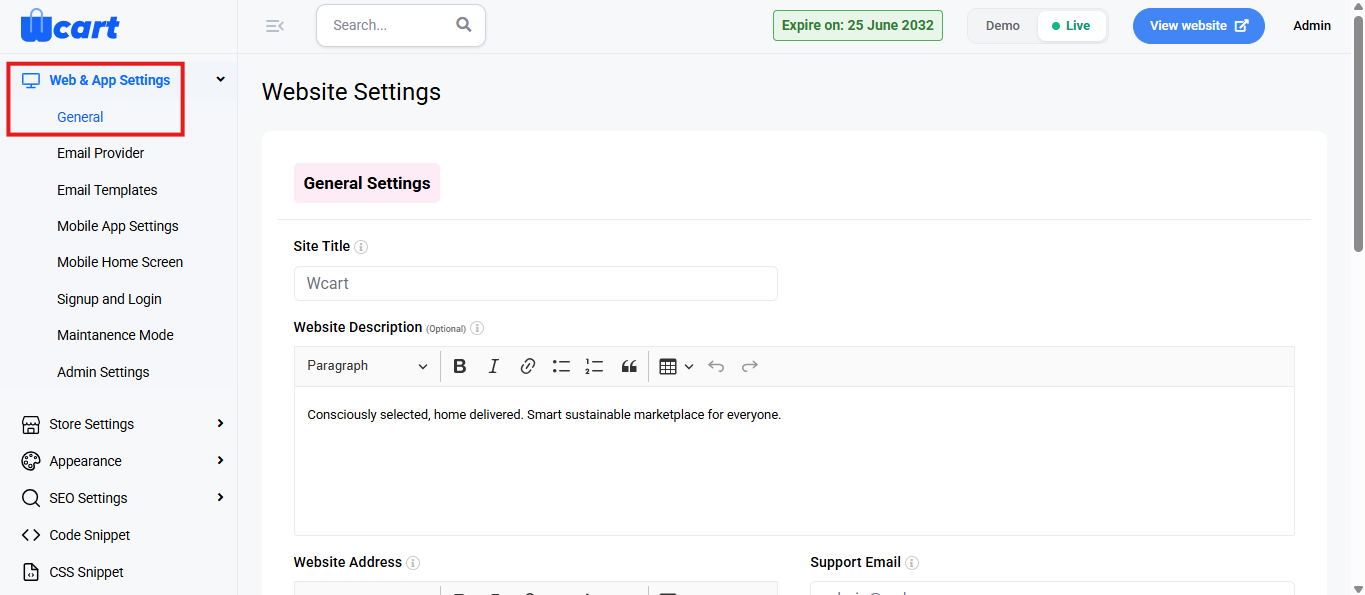
This section allows administrators to manage inventory and stock transfers between warehouse and store locations. It provides tools to track product quantities, update stock levels, and ensure accurate availability across the system.
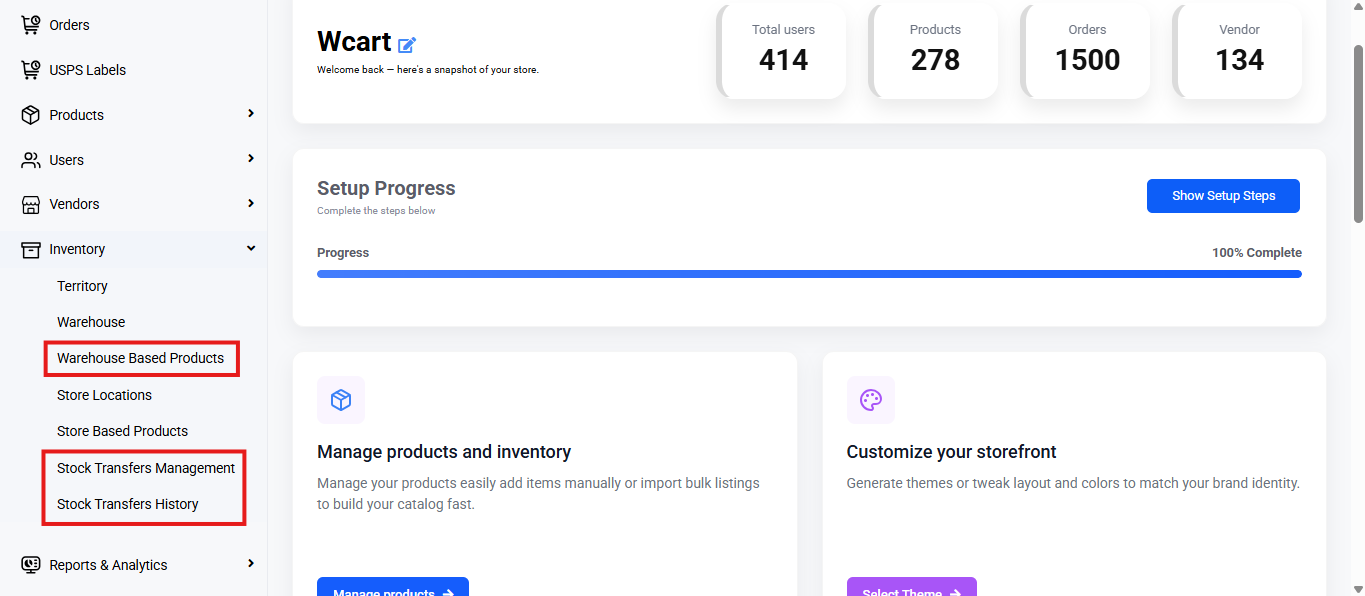
You can track product variants from Warehouse based products, Store based products, Stock Transfers Management, or Stock Transfers History under the Inventory module.
To track, follow these steps:
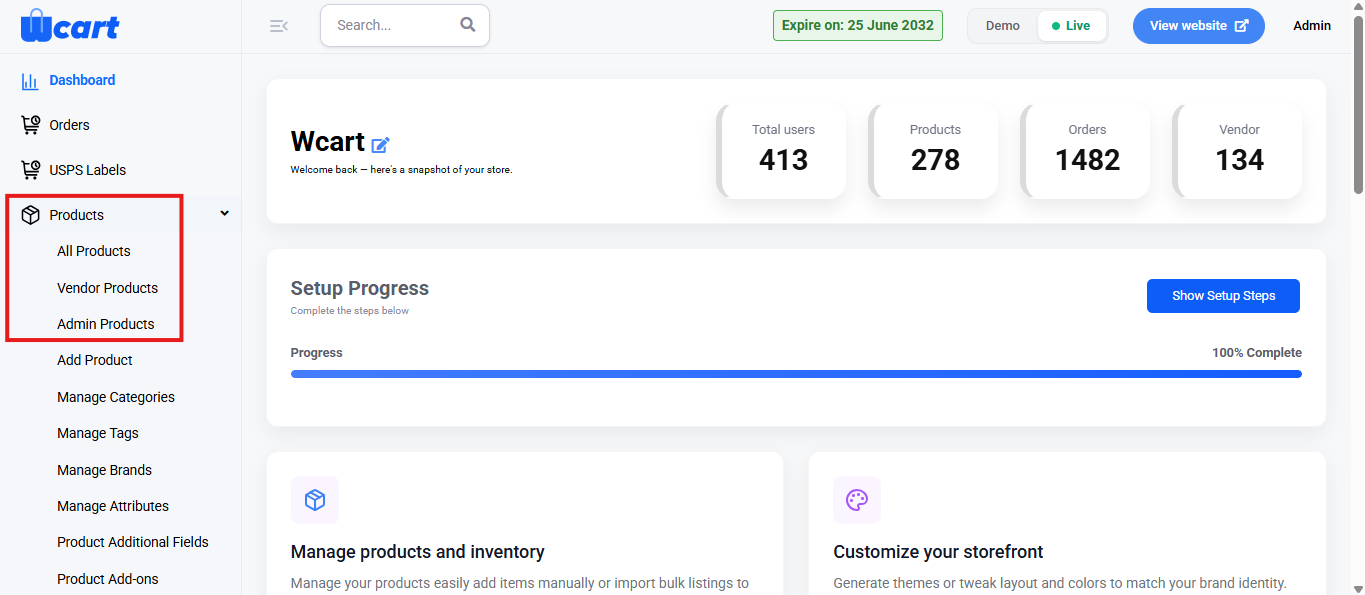
- Navigate to the sidebar menu and find the ‘Inventory’ section. Open Warehouse Based Products and monitor current stock levels in each warehouse or Store Based Products based to monitor stock levels at the individual store level. To make tracking simpler use the filter option. Note that these two options can only be used to view information.
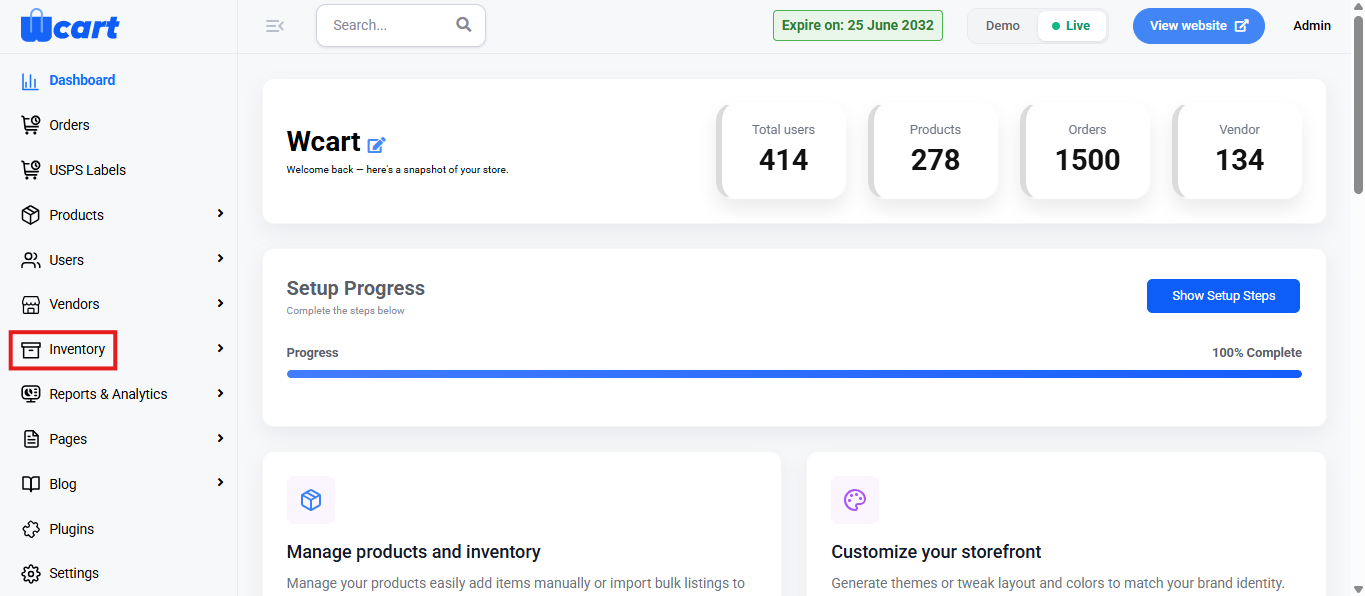
- Under ‘Inventory’ open the Stock Transfer Management section to manage the movement of stock between different warehouse locations. It can also be used for transferring products between warehouses and tracking those transfers. Use the filter option to quickly view the required information. Additionally, the Stock Transfer History menu can be used for reviewing or exporting transfer history, with an optional shortcut to create new transfers.
Warehouse Based Products
Centralized view of inventory across all warehouse locations.
Change Location
- Dropdown at the top-right allows filtering products by warehouse location.
- Selecting a location updates the product list to show inventory for that warehouse.
- If no location is selected, All Warehouse Inventory Data appears by default.
Filter Options
Filter dropdown helps refine product visibility:
Availability
- All: Shows all items.
- In Stock: Shows SKUs with availability > 0.
- Out of Stock: Shows only zero-quantity items.
Product Type
- All: Shows all product types.
- Simple: Products with one variant.
- Variable: Products with multiple variants (size, color, etc.).
Inventory Table Columns
Information displayed for warehouse stock:
- SKU
- Product Name
- Price
- Incoming (in transit stock)
- Committed (reserved for orders)
- Available (free to sell)
- Action buttons for further operations
Action Options
Click the eye icon under Action to access:
View Inventory Page
Displays:
- Product SKU
- Product Name
- Warehouse Location
- Incoming / Committed / Available quantities
Additional Functional Controls
- All Inventories — View SKU availability across all warehouses
- View Product — Open product page on storefront
Update Quantity
- Increase — add stock (enter quantity & description → Save → toast: “Updated Inventory Details”)
- Decrease — reduce stock (enter quantity & description → Save → toast: “Update Inventory Details”)
History Log
Track all inventory activity with:
- Date / Activity type / Incoming / Outgoing / Other changes
- Activity Description
- Quantity involved
- Updated Available balance
Store Based Products
Provides the same controls and functionality as Warehouse Based Products, but specific to retail store-level inventory.
Use this module to:
- Track availability at individual storefronts
- Detect stock shortages at specific stores
- Manage local inventory independent of warehouse levels
Both Warehouse and Store Based Products ensure a consolidated visibility of stock availability across your entire network.
Stock Transfer Management
Used to create, update, and monitor product movement between store & warehouse locations.
Summary Cards
Displayed on top showing total transfer counts:
- Total Transfers
- Pending Transfers
- Completed Transfers
- Cancelled Transfers
Filters and Search
Controls help narrow transfer records:
- Status dropdown (All Status)
- From Location dropdown
- To Location dropdown
- Date range fields
- Apply Filters and Clear Filters
- Keyword Search: Transfer ID, SKU, Product or Location
Transfers Table Columns
- Transfer ID
- From → To (origin & destination)
- SKU
- Product Name
- Progress / Status (Track Progress button)
- Transfer Date
- Items Count
- Requested By
- Actions
Shows: No stock transfers found when empty.
Actions
➤ Update Status (green button)
Opens Update Transfer Status modal:
- Dropdown: Select Status
- Warning note:
Once a transfer is marked as completed, inventory will be automatically updated and the transfer cannot be modified. - Buttons: Cancel / Update Status
Completing updates inventory automatically
Can no longer edit after completion
➤ Cancel Transfer (red icon)
Browser confirmation:
Are you sure you want to cancel this transfer?
➤ Download
Exports transfer report details.
Create a New Transfer
Available via:
- + Create New Transfer button (Management page), or
- + New Transfer in Stock Transfer History
Transfer Information Fields
- From Location Type*
- From Location*
- To Location Type*
- To Location*
- Transfer Date* (Date & Time prefilled)
- Notes (optional)
After valid selections → message:
Products loaded successfully. Select products and quantities below.
Items to Transfer Options
Auto-load Product List
- Bulk selection using checkbox
- Available Stock shown
- Enter Quantity for each row
- Search & Per Page available
- Click Add Selected to include items
Manual Item Entry
- Dropdown: Select SKU*
- Product auto-filled
- Quantity required
- Remove icon to delete line
Buttons at Bottom
- Save as Draft
- Submit Transfer
- Submit & Mark Complete
- Confirmation:
This will immediately complete the transfer and update inventory. Are you sure?
- Confirmation:
Success Messages (Toasts)
- Transfer submitted successfully!
- Stock transfer created successfully.
Validation Messages (Toast block)
- From Location Type is required
- From Location is required
- To Location Type is required
- To Location is required
- From and To locations cannot be the same
- At least one line item is required. Click “Add Item” to add products to transfer.
Stock Transfer History
Provides chronological transfer records for review, tracking, and auditing.
Summary Cards
- Total Transfers
- Completed
- In Transit
- Cancelled
Control Buttons
- Back to Transfers
- + New Transfer
- Export to Excel
- Export to PDF
Filters
- Status dropdown (All Statuses)
- Location Type filter
- Date From & Date To
- Search input:
Search by transfer number, location, or product… - Apply Filters / Clear
History Table
Similar column structure to Management:
- Transfer ID
- From → To
- SKU
- Product
- Status
- Transfer Date
- Items
- Requested By
- Actions
Same pagination behavior and “Showing x to x of x transfers” text.
Update Status Modal
Same as Management:
- Dropdown: Select Status
- Warning note about automatic inventory updates on Complete
- Buttons: Cancel / Update Status
Using these four modules together ensures:
- Accurate stock tracking across warehouses and stores
- Full traceability of movements
- Prevention of over-selling or stock mismatches
- Role-based visibility for operational efficiency
These settings ensure accurate stock visibility, efficient transfer management, and complete traceability across warehouses and stores. Regularly monitoring inventory levels and transfer history helps prevent stock discrepancies, maintain balanced distribution, and support smooth warehouse-to-store operations throughout the system.