
This section explains how to configure and manage the localization settings for your store, including adding cities and viewing city details.
To configure, follow these steps:
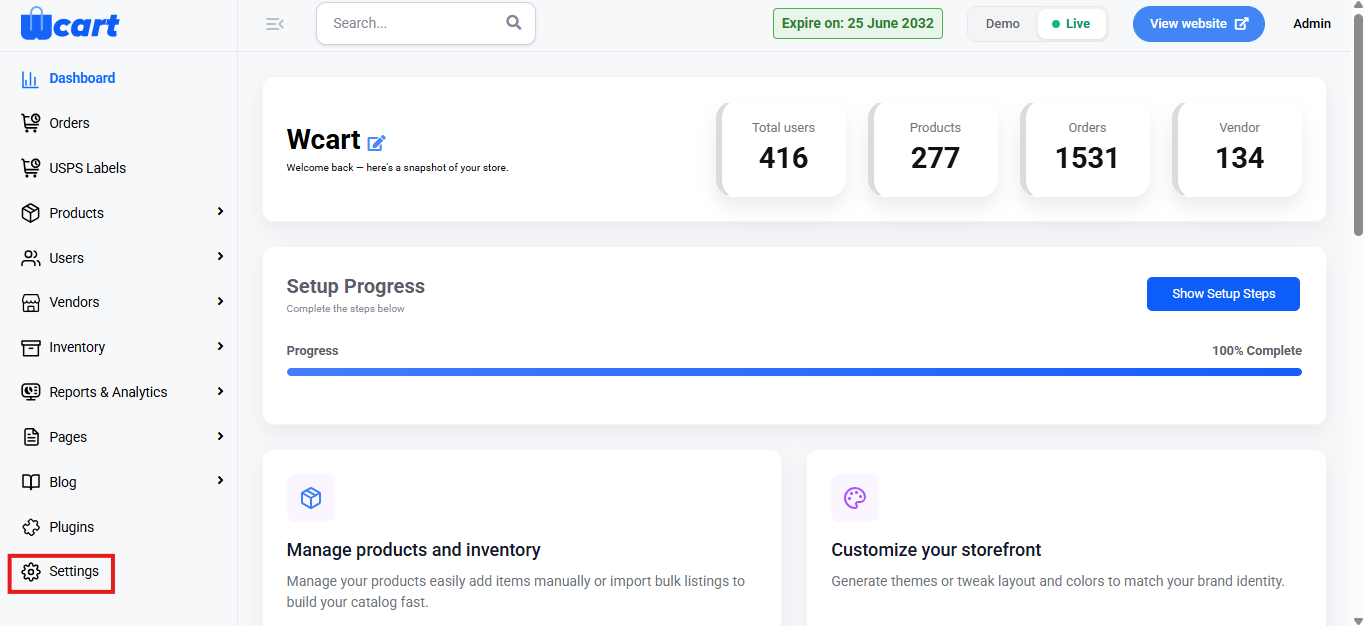
- Navigate to the sidebar menu, click ‘Settings’.
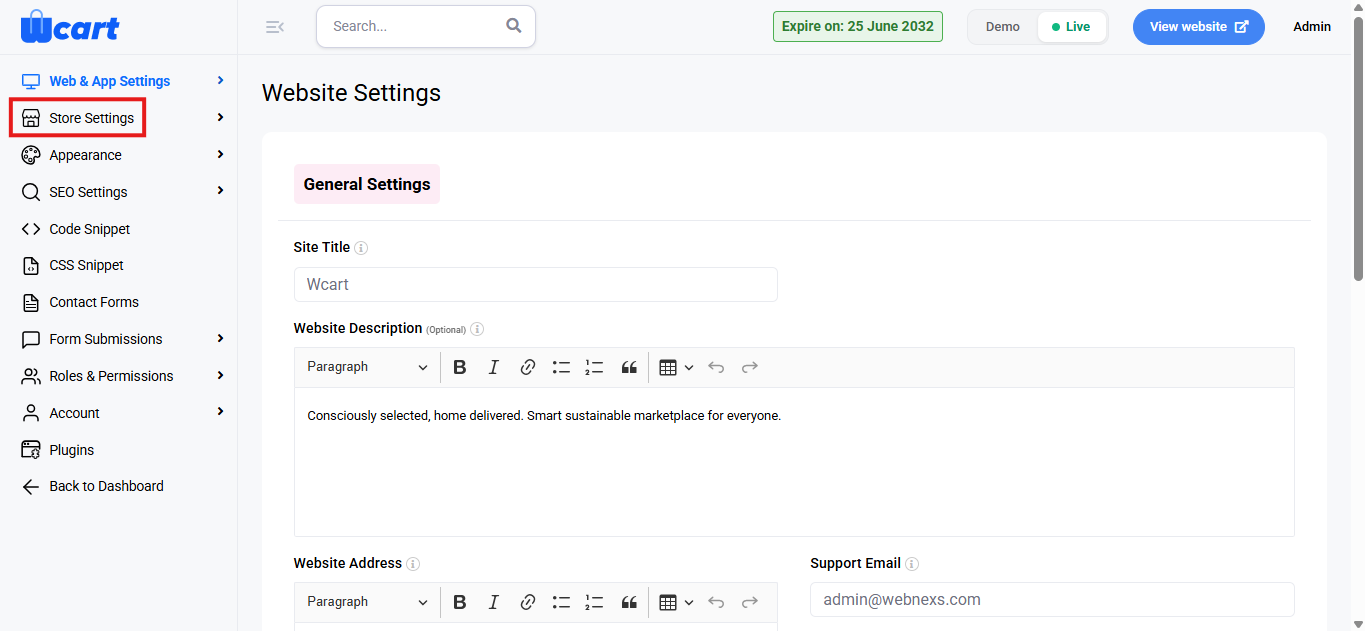
- Select ‘Store Settings’.
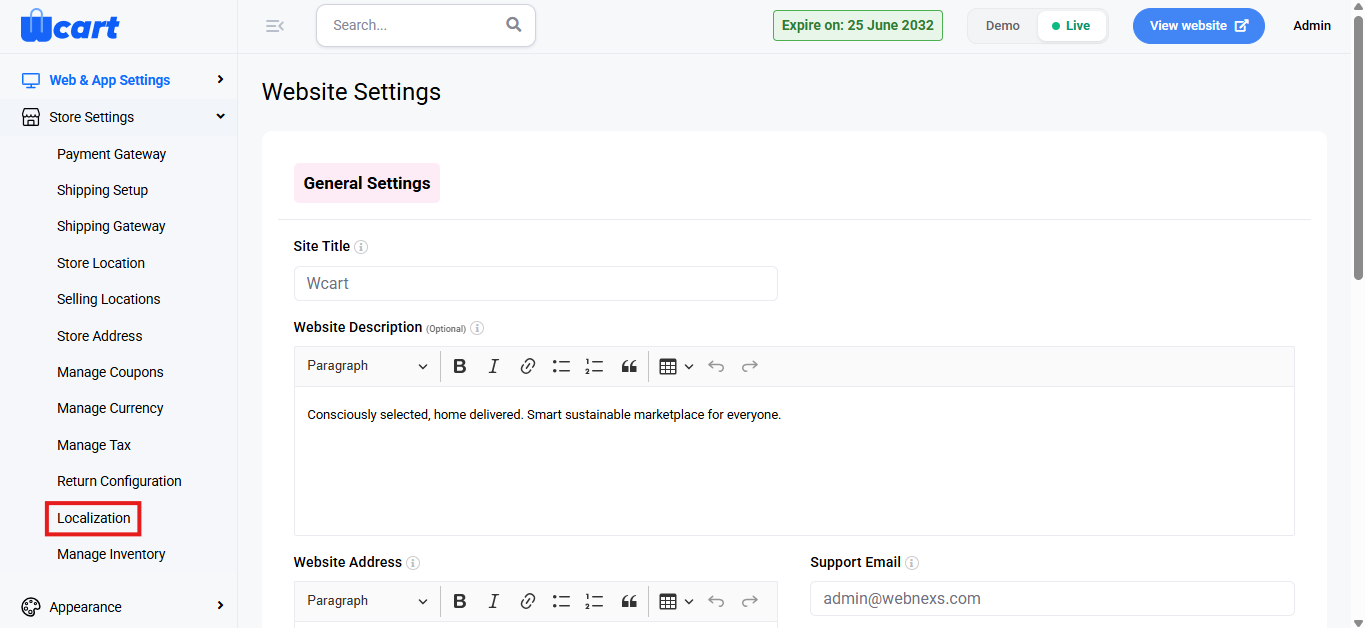
- Next, choose ‘Localization’ from the submenu.
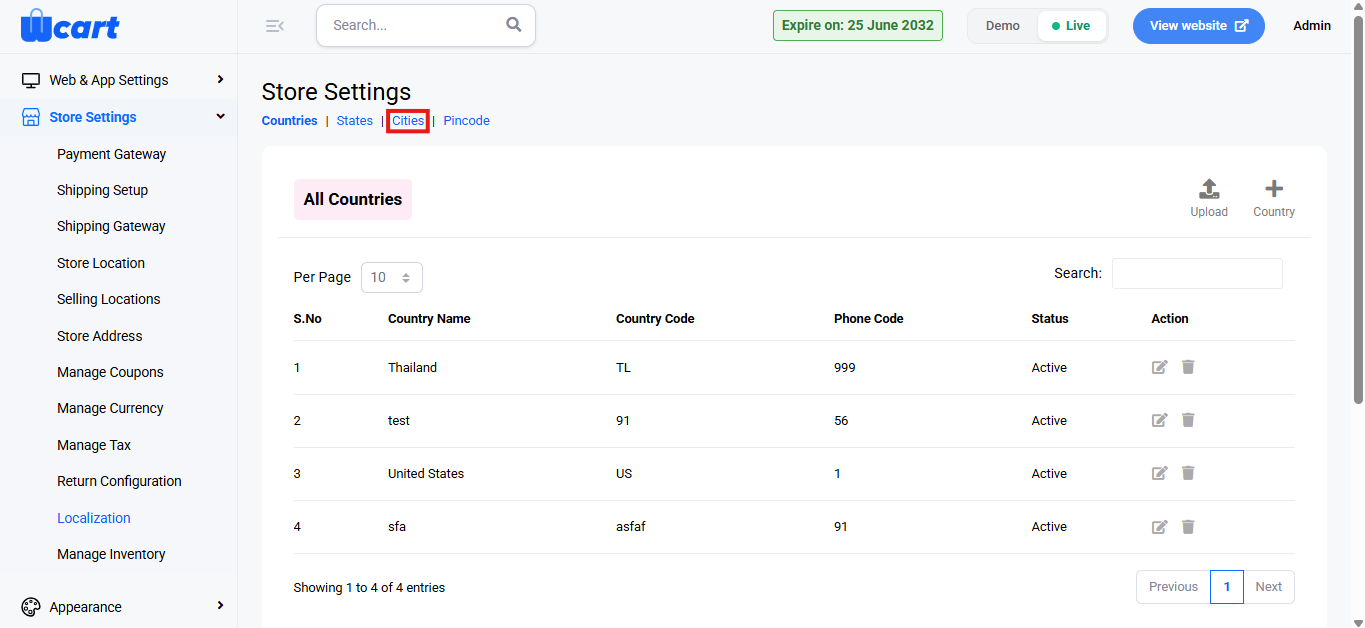
- Then, click on ‘Cities’ from the navigation tabs at the top.
There are two action buttons at the top-right corner of this section. They are detailed below:
Bulk Importing Cities
Upload Your CSV File
- In the first step, you will see an option to ‘Drag and Drop or Upload CSV File’.
- Click on this area to upload your CSV file containing city data. Once uploaded, a toast notification saying ‘Bulk Upload Initiated Successfully’ will appear to confirm that the file has been uploaded.
- Alternatively, you can download a sample CSV file by clicking the ‘Sample CSV’ button for the required file format.
- If you want to return to ‘All Cities’, click ‘Cancel’. This button is available on all three pages of the bulk import process.
Map CSV Columns
After uploading the CSV file, you will proceed to the Column Mapping step. In this step, map each column from the CSV file to the corresponding fields in the system. For each column, you’ll use the dropdown options to select the correct field:
- Country Code: Select country_code from the dropdown.
- State Code: Select state_code from the dropdown.
- City Name: Select city_name from the dropdown.
- City Code: Select city_code from the dropdown.
- City Shipping Status: Select city_shipping_status from the dropdown.
Ensure all columns are correctly mapped to their respective fields. After confirming the correct mapping, click ‘Submit’ to continue.
Complete the Import
- Once the mapping is complete, the system will begin importing the country data. The process will show a green checkmark confirming that the import has been completed successfully.
- You can now proceed to view the cities by clicking the ‘View Cities’ button.
View the Imported Countries
- Clicking ‘View Cities’ will open the city list.
- The list will show all cities that have been successfully imported, including their details like Country Code, State Code, City Name, City Code and Status.
- You can manage these cities from this page, including editing or deleting them if needed.
Adding a New City
- Click on the ‘Add City’ button on the top-right of the page.
- You will be presented with a form to input the following details:
- Country Code: Provide the unique code for the country.
- State Code: Provide the unique code for the state.
- City Name: Enter the name of the city.
- City Code: Enter the code for the city.
- City Shipping Status: Choose whether the city’s shipping is active or not.
NOTE: You can also bulk import city from this section using the ‘Upload’ button available in the top-right corner. If you want to go back to the ‘All Cities’ section, click on ‘All Cities’ button at the top-right corner of the page.
- Click ‘Submit’ to add the city to the list. A toast notification ‘City Added Successfully’ will appear to confirm addition.
Now, you can see the newly added city in the ‘All Cities’ section and it displays the following information:
- S.No: Serial number of the entry.
- Country Code: The country’s code.
- State Code: The state’s code.
- City Name: Name of the city.
- City Code: The code used to uniquely identify the city.
- Status: Whether the city is active or inactive.
- Actions: Manage cities using the options mentioned below.
- Edit: The same fields in the ‘Add City’ section can be found here. Modify them and click ‘Submit’ to save the update. A toast notification ‘City updated successfully’ will appear to confirm the update. To return to ‘All Cities’ section, click ‘All City’ button in the top-right corner.
- Delete: Deletes the city. A toast notification ‘Deleted City’ will appear to confirm deletion.
This section provides a quick and efficient way to manage city data, ensuring that all information is accurately imported, added and updated, making it easily accessible for future changes or modifications.
To configure ‘Countries’, ‘States’ and ‘Pincodes’, follow the guide links mentioned below: