
This section helps administrators manage vendors in a multi-vendor store. It includes tools to add vendors, import or export data, review vendor details, and maintain smooth vendor operations.
To add multiple vendors, follow these steps:
- Navigate to the sidebar menu and find the ‘Vendors’ section.
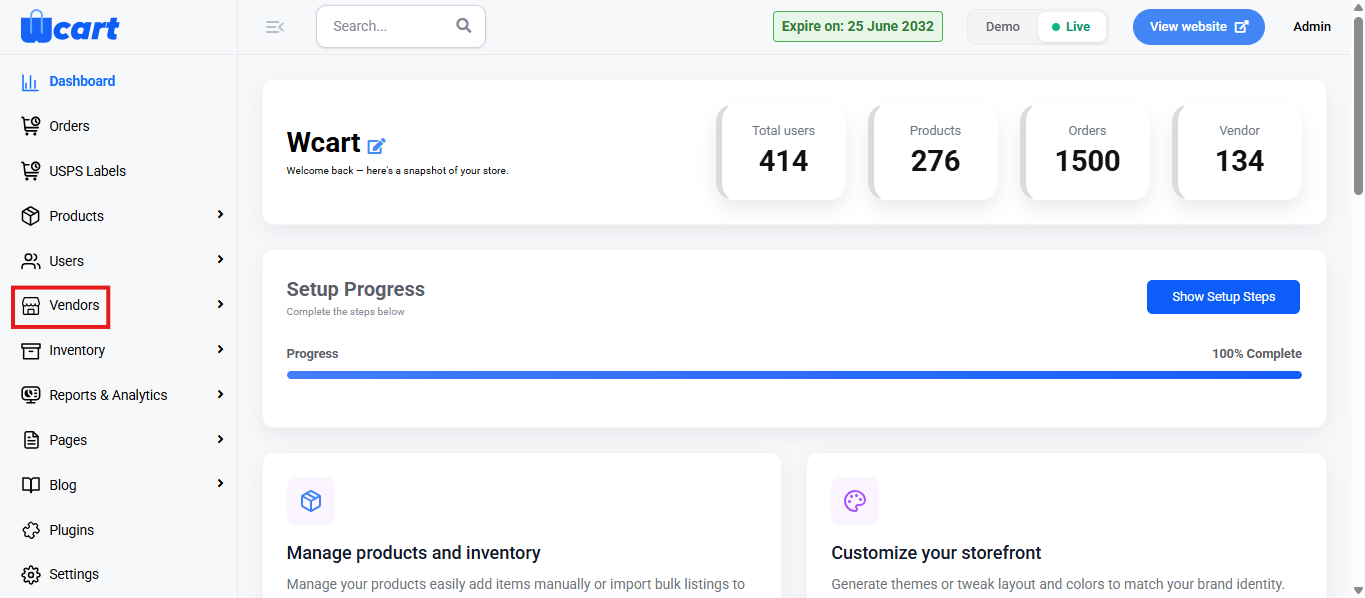
- Select ‘All Vendors’ from the submenu.
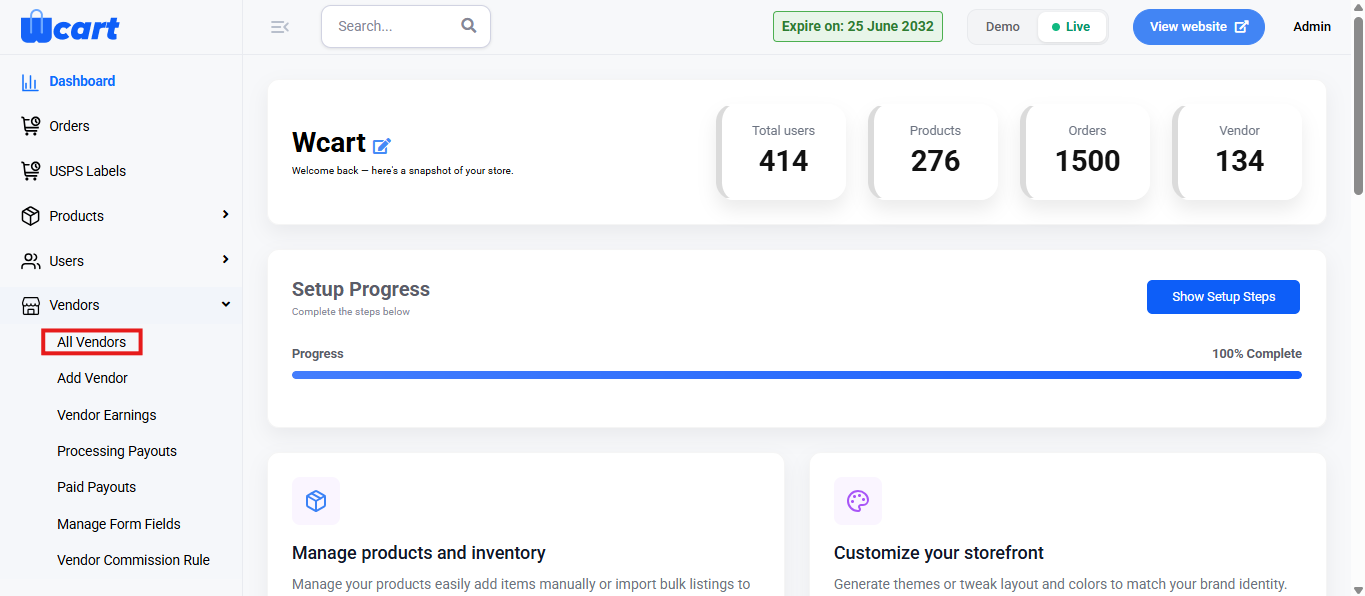
- You will find the Vendor Management table, which displays all existing vendors and the configuration options mentioned below:
Export:
- Click to display the dropdown format options:
- CSV
- Excel
- Click the radio button to choose your preferred file format.
- Once you have selected a format, click the ‘Export’ button to download your product data in the chosen file type.
Import
- Click ‘Import’ to open the Bulk Upload page.
- A step progress bar will be displayed with the below mentioned options:
- Upload CSV File: Drag and drop your product CSV file. For reference purposes, you can view a Sample CSV by navigating to the top right to download a template CSV file by clicking on ‘Sample CSV’. Also, add the image of the product in a zipped file.
- Column Mapping:
- Import:
- After selecting the preferred option, in the modal dialog box click on ‘Submit’ to save your changes.
- Click on ‘Cancel’ to return to the ‘Manage Brands’ page.
+ Vendor
Add Vendor: Navigate to the right corner of the page to find ‘Manage Vendor’ to return to the vendors list section. To add a new vendor, click the ‘Add Vendor’ option to manually register a new vendor. You will be directed to the ‘Add Vendor’ page with the following grouped form sections:
Basic Details
- First Name: Enter the vendor’s first name. This is a required field.
- Last Name: Add the vendor’s last name. This field is optional.
- Email ID: Input the vendor’s email address. A required field for communication and login.
- Password: Set the vendor’s account password. Required for login authentication.
- Phone: Enter the vendor’s phone number including country code.
Address Details
- Address: Enter the vendor’s complete street address.
- City: Input the city of the vendor.
- State: Specify the vendor’s state.
- Country: Enter the vendor’s country.
- Pincode: Add the postal/zip code for the vendor’s location.
Store Info
- Brand Name: Specify the name of the vendor’s store or brand.
- Brand Slug: Provide a URL-friendly version of the brand name.
- Business Type: Select the business nature.
- Website: Add the vendor’s business website URL.
- Brand Logo: Upload the store’s logo image.
- Store Banner: Upload a banner image to visually represent the vendor’s store.
- Register Number: Enter the official business registration number.
- GST Number: Input the GST identification number for taxation purposes.
Bank Details
- Account Holder: Name of the account holder as registered with the bank.
- Account Number: Enter the vendor’s bank account number.
- Bank Name: Specify the bank name.
- Bank Branch: Add the name or code of the bank branch.
- Bank Country: Enter the country where the bank is located.
- Swiftcode: Add the SWIFT/BIC code for international transactions.
Confirmation & Submit
- Confirmation Checkbox: Enable this option to send a confirmation email to the vendor after registration.
- Submit Button: Click to submit the form and create the vendor account. A toast notification ‘Vendor Details Submitted Successfully’ will appear to confirm the submission.
Now click ‘Manage Vendor’ and return to the ‘All Vendors’ section. You will find a table with various columns to interpret vendor data quickly and accurately. The columns are listed below:
- S.No: Serial number of the vendor entry.
- Name: Full name of the vendor.
- Email: Registered email address of the vendor.
- Phone No: Vendor’s contact number.
- Status: Indicates the current state of vendor’s registration and approval. The four options are:
- Approved: The vendor’s registration and details have been reviewed and accepted.
- Pending email verification: The vendor has registered, but their email address has not yet been confirmed or validated.
- Pending for brand details: The vendor has registered but needs to provide or complete their brand-related information.
- Blocked: The vendor’s account has been restricted to prevent access.
- Action
Provides icons for quick actions related to each brand. The following icons are available under this column:
- View Info: View all the updated details of the vendor. Additionally, you can manage the accessibility of the vendor to the platform.
Navigate to the top right corner of the page to find ‘Status’ that allows the admin to toggle a vendor’s operational status. Move further upwards to find ‘Manage Vendor’, click to return back to the vendors list section.
Vendor Status Display
- Status: Currently Active – Indicates that the vendor account is active and can operate on the platform.
- Status: Currently Blocked – Indicates that the vendor account is disabled and cannot operate.
Action Buttons
- Block This Vendor – Click to deactivate the vendor. A confirmation message “Vendor Blocked Status Updated” will be shown.
- Active This Vendor – Click to reactivate a blocked vendor. A confirmation message “Vendor Accepted Status Updated” will be shown.
- Edit: Opens the vendor edit form to update and manage vendors. The form fields that will appear are the same as those that appear in the ‘Add Vendor’ form section.
Alternatively, If you only want to directly add vendors you can:
- Navigate to the sidebar menu and find the ‘Vendors’ section.
- Select ‘Add Vendor’ from the submenu.
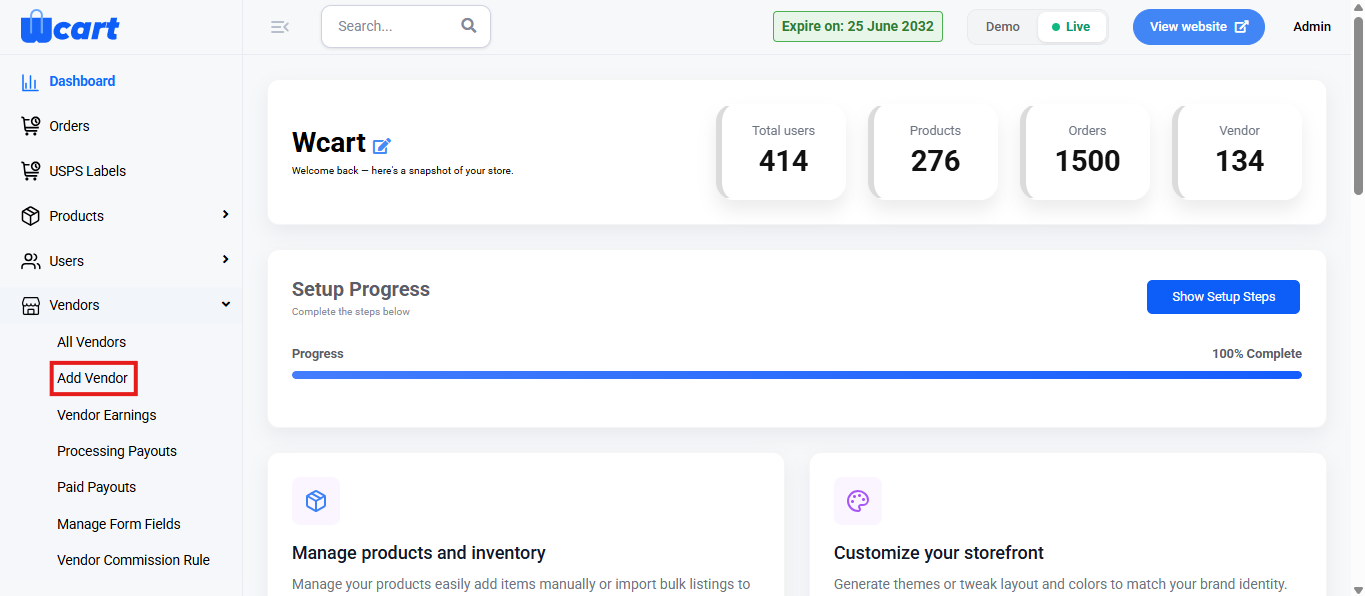
- You will find the form fields mentioned above here, allowing you to add a vendor directly without viewing the entire vendor list.
These settings help streamline vendor management and maintain smooth operations across all vendor activities. Ensure all details are configured correctly and saved before proceeding to the next configuration section.